
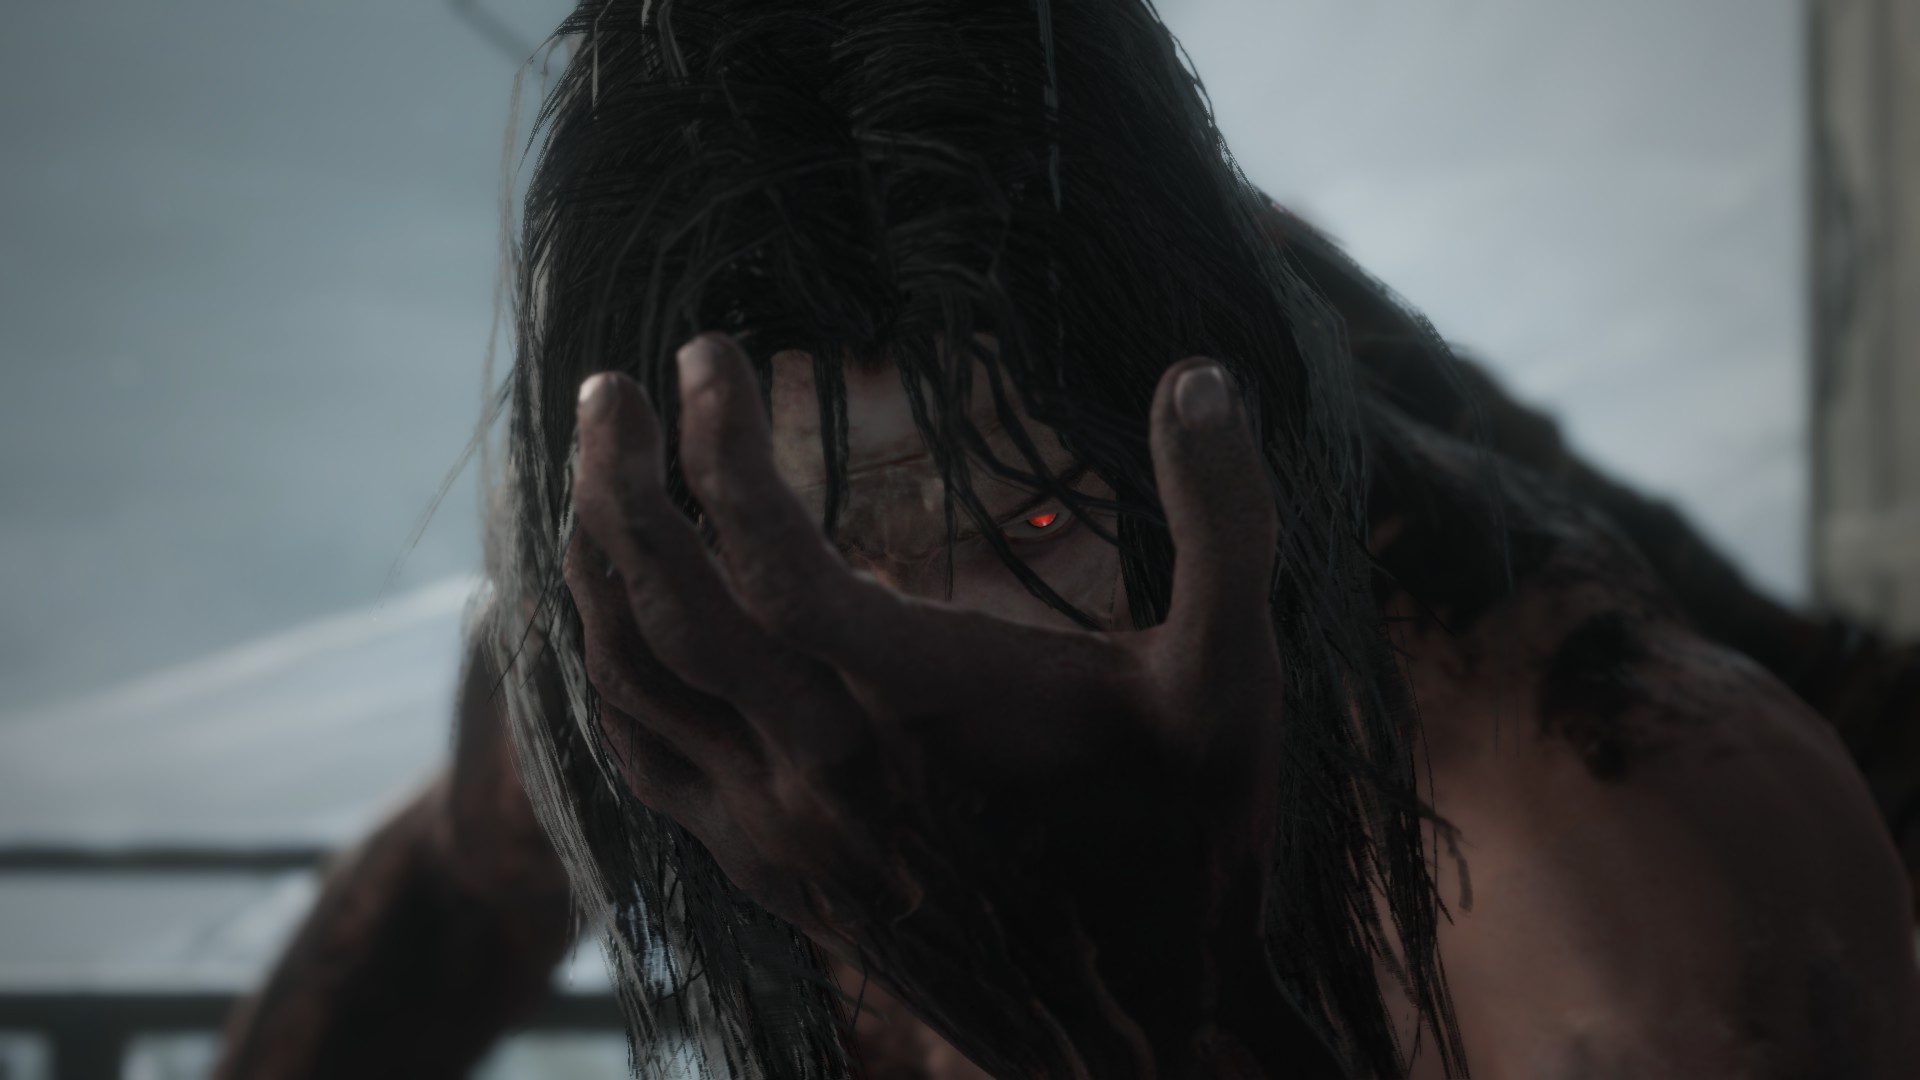
See Sekiro Review for full review.
Playthrough Variations
Despite not having an easy mode, there are multiple ways to make the game harder, if touching grass is not your cup of tea.
NG+
NG+ means new game plus, meaning the playthroughs after the initial one, which you get to keep all the skills, stats, weapons etc. you obtain from previous playthroughs. NG+X meanings the Xth playthrough after the initial one. The game became harder with each new playthrough, until the 7th one. That’s why the no-hit runs on YouTube would always title NG+7.
Charmless
Charmless means returning Kuro’s charm at the beginning of each playthrough, which makes you receive damage even if you block an attack. So in a charmless playthrough, players have to learn how to deflect everything. It also increases various stats of the enemies.
Bell
Bell means ringing the Demon Bell in the game, which increases various stats of the enemies. In my experience having the bell on doesn’t have a significant impact on the difficulty.
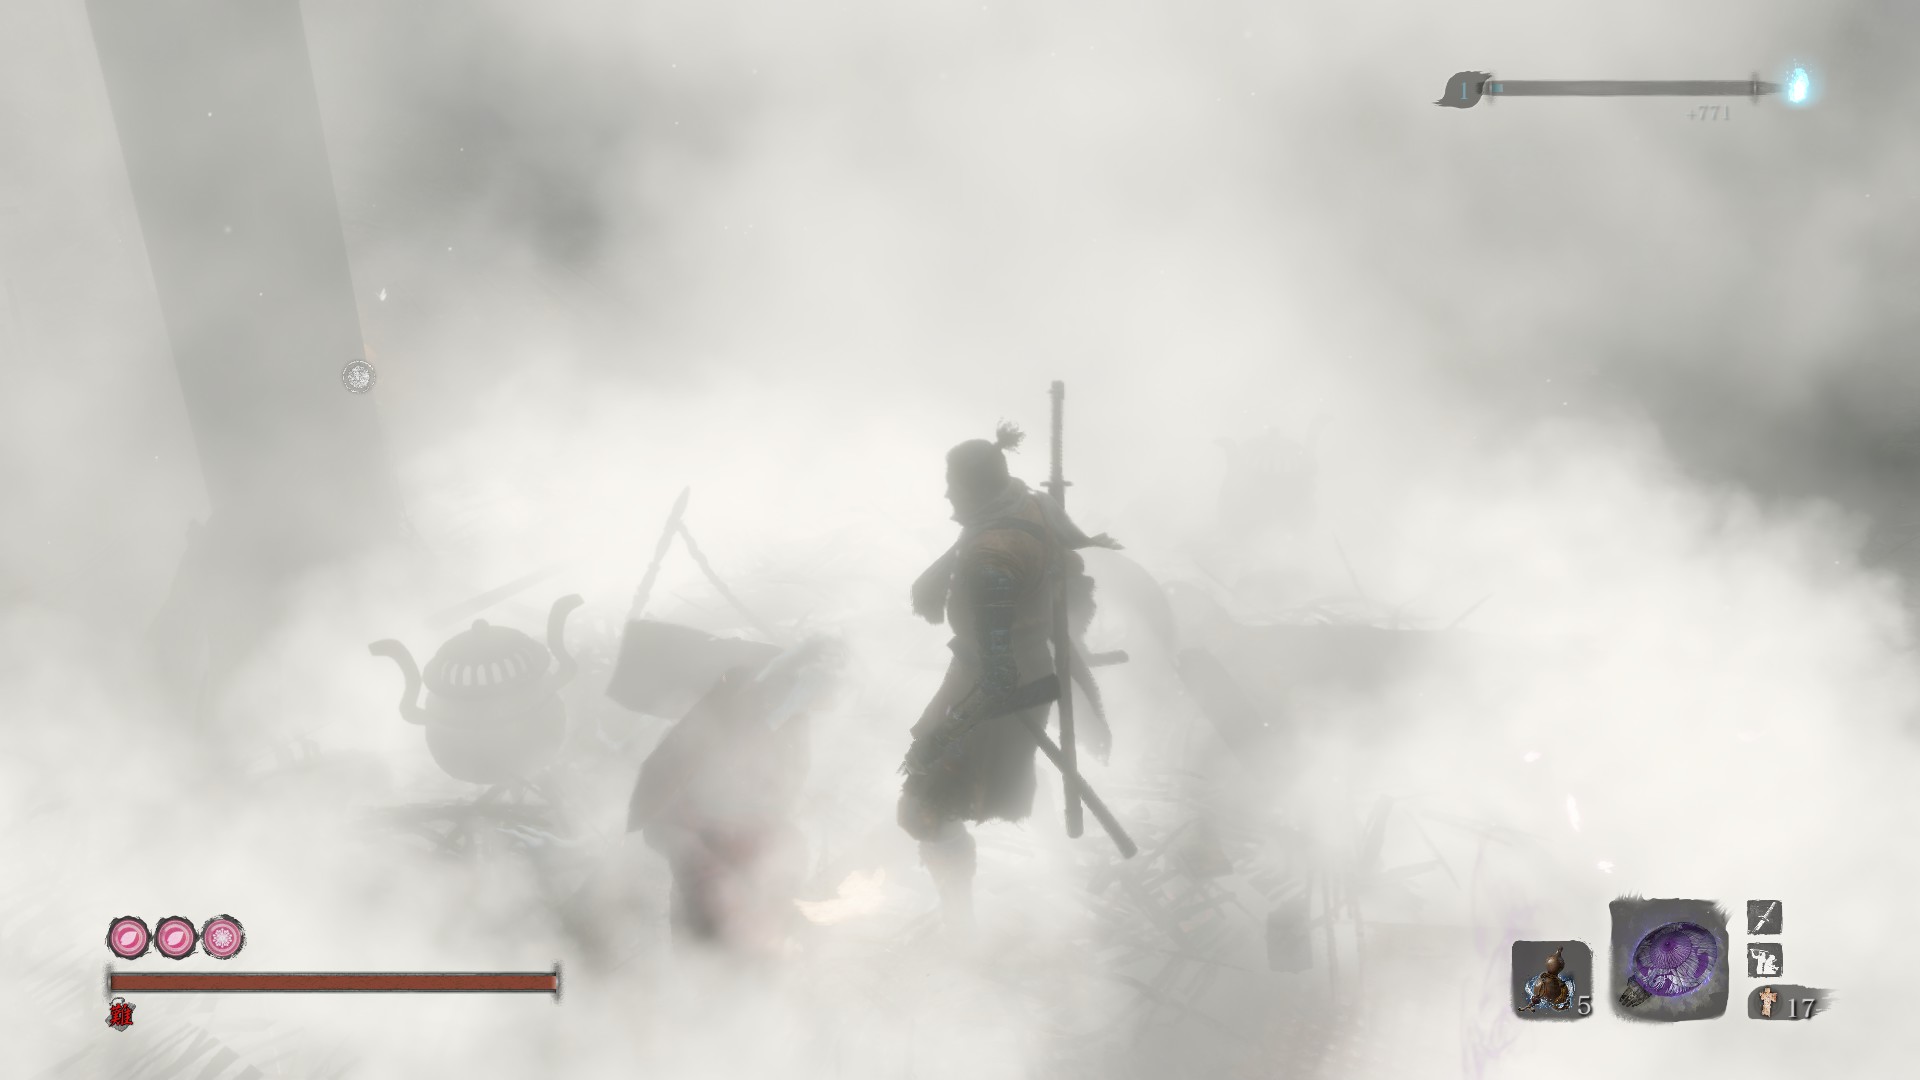
Without HUD
You can play the game without any HUD on, which doesn’t increase the difficulty by much if you’ve already mastered the game, but enables you to enjoy the sword fighting more with minimal distractions (like the annoying white lock-on dot).
Favorite Bosses
Here are my favorite bosses.
- Emma, the Gentle Blade (Boss)
- Genichiro Ashina (Boss)
- O’Rin of the Water
- Isshin, the Sword Saint (Boss)
- Armored Warrior
- True Monk (Boss)
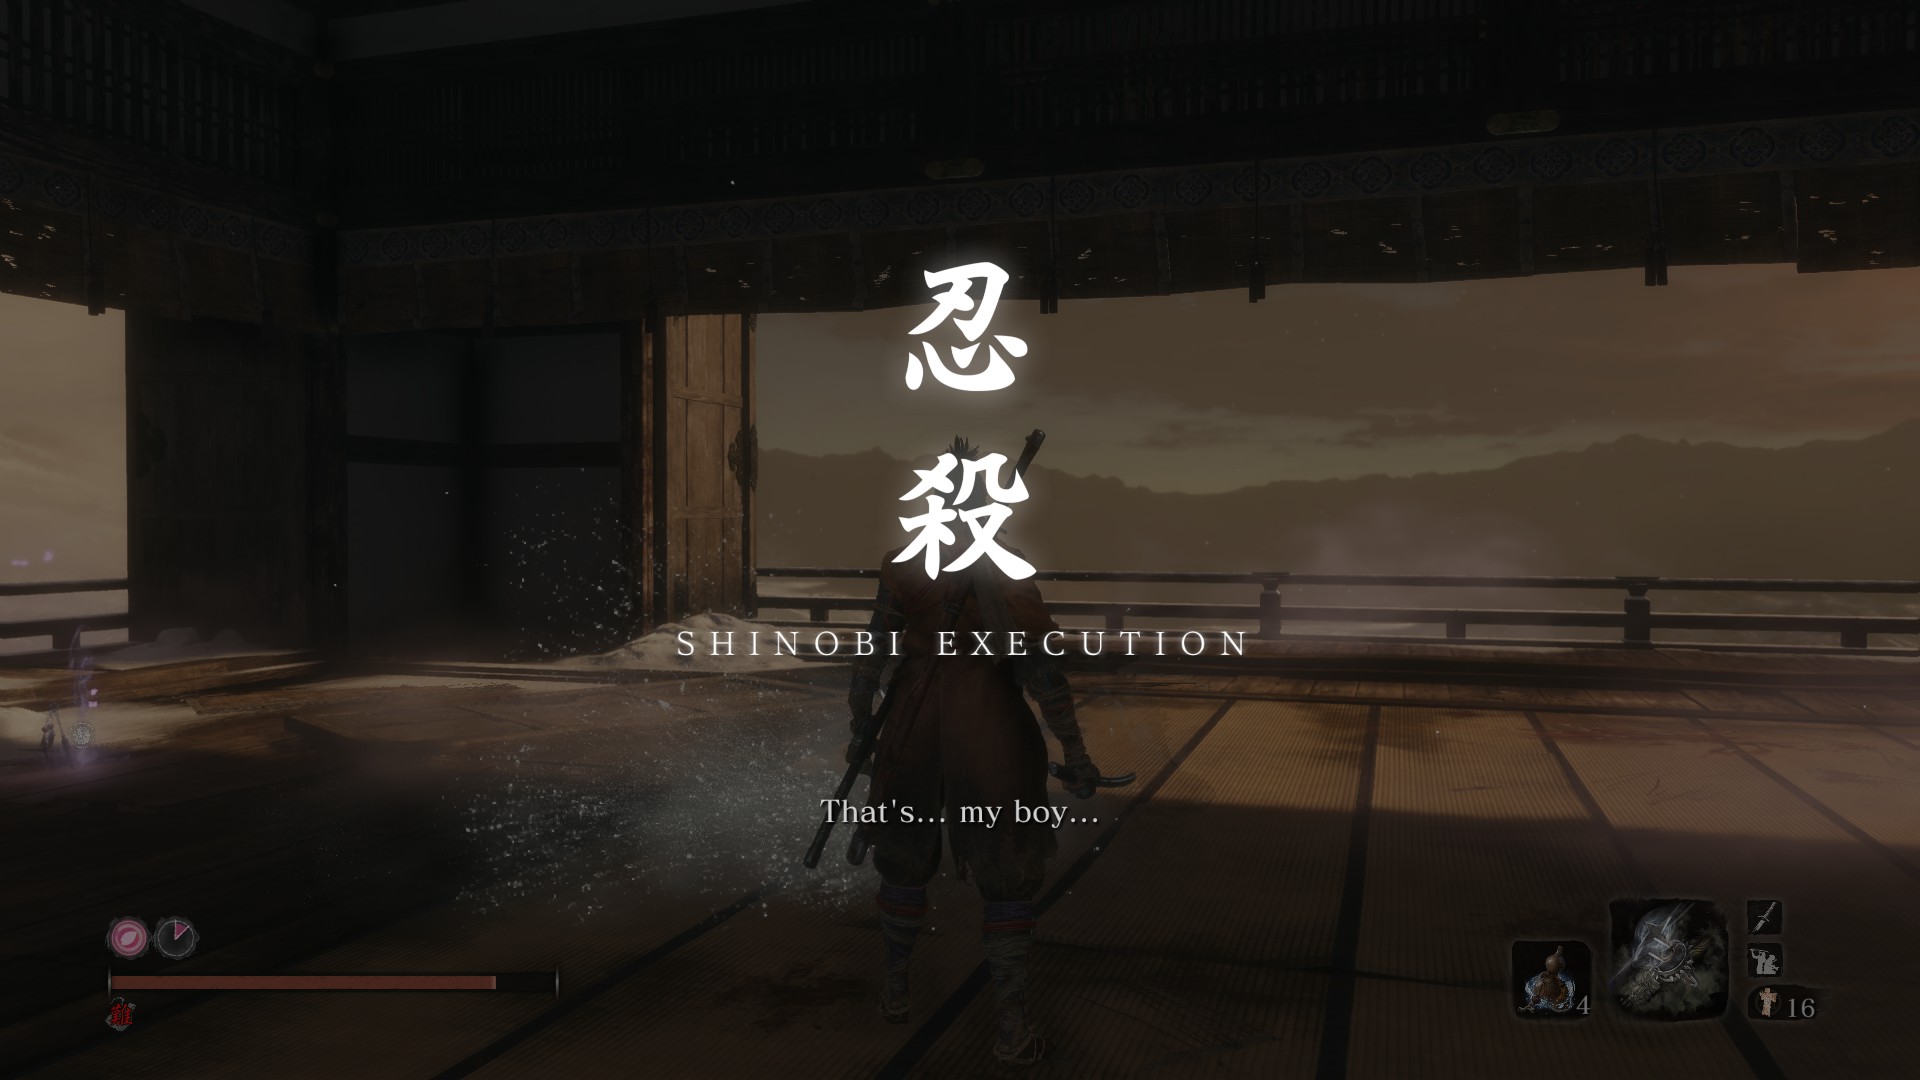
Emma, the Gentle Blade (Boss)
This fight is pure elegance. Emma has dance-like movements, but her attacks are so lethal. Her 4-hit combo is the best attacking sequence in the game. This fight is also set in the dusk on top of the Ashina tower, which is absolutely stunning.
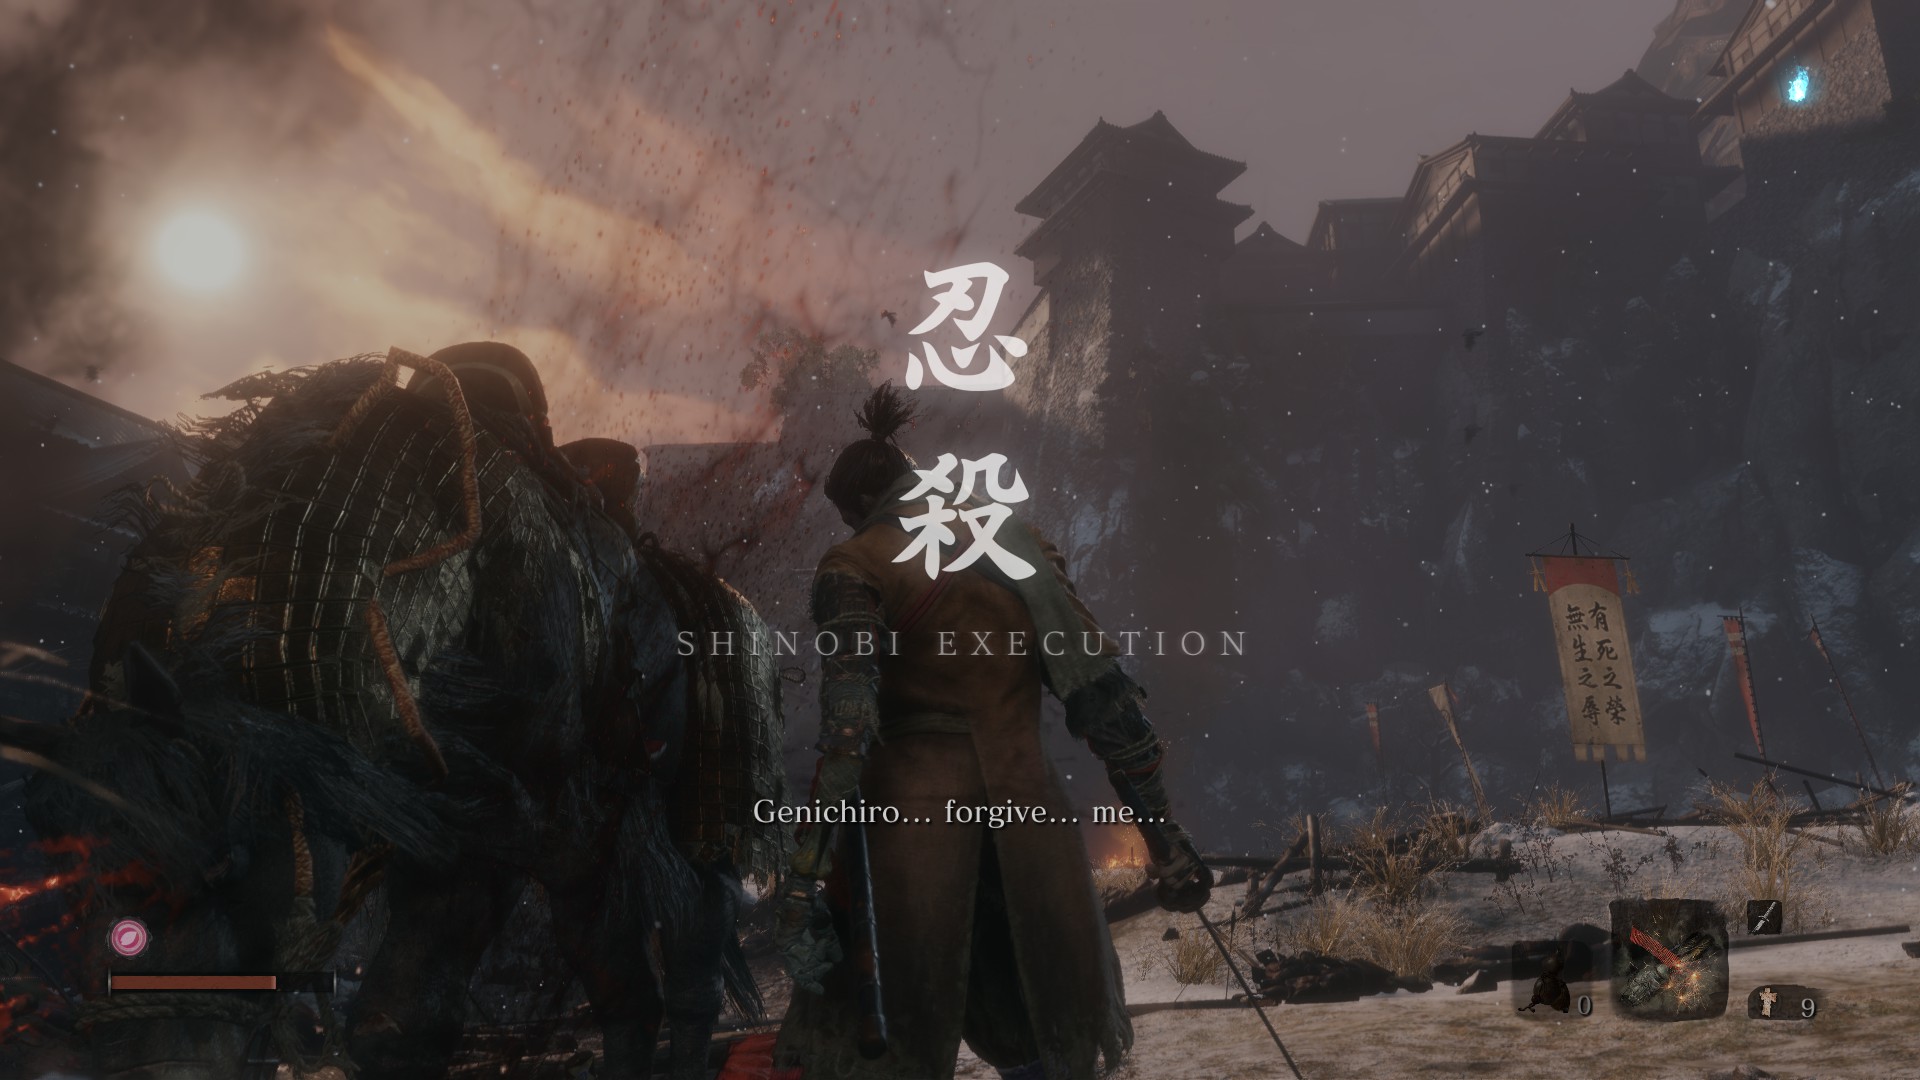
Genichiro Ashina (Boss)
This fight is pure sword clashing, which is extremely satisfying. Sekiro combat shines the most in this kind of fight.
O’Rin of the Water
O’Rin of the Water has the elegance of the Okami clan. She flies around as a ghost, but it’s like she’s dancing with her sword. This fight is pure sword clashing as well, testing your perfection and endurance with deflecting.
Isshin, the Sword Saint (Boss)
I really love the 1st phase of Isshin. In fact, it’s my favorite phase of all the Sekiro bosses. As Genichiro and O’Rin, Isshin 1st phase is pure sword clashing, but with more 正氣. It really is the sword art of a sword saint. Unfortunately, from the 2nd phase, the fight becomes too far reaching with the addition of a spear, making the whole fight a bit less favorable to me. I would much prefer the 2nd & 3rd phase to be still pure sword fighting but maybe tougher and tighter.
Armored Warrior
Difficulty Ranking
Original Playthrough
From easy to hard, purely subjectively speaking:
- Mist Noble
- Okami Leader Shizu
- Long-arm Centipede Giraffe
- Long-arm Centipede Sen-Un
- Underwater Headless (Ungo)
- General Naomori Kawarada
- Diving Dragon (Boss)
- Chained Ogre
- Headless Ape (Boss)
- Ashina Elite - Jinsuke Saze
- Shinobi Hunter Enshin
- Underwater Headless (Yashariku)
- Lone Shadow Vilehand
- General Kuranosuke Matsumoto
- O’Rin of the Water
- Blazing Bull
- Gyoubu Oniwa (Boss)
- Juzou the Drunkard
- Juzou the Drunkard 2.0
- Lone Shadow Longswordsman
- True Monk (Boss)
- Corrupted Monk (Boss)
- Armored Warrior
- General Tenzen Yumauchi
- Great Shinobi - Owl (Boss)
- Lady Butterfly (Boss)
- Genichiro Ashina (Boss)
- Owl (Father) (Boss)
- Guardian Ape (Boss)
- Isshin, the Sword Saint (Boss)
Those can’t be ranked as I cheesed them
- Seven Ashina Spears - Shibibu Toshikatsu Yamauchi
- Snake Eyes Shirafuji
- Snake Eye Shirahagi
- Chained Ogre (Castle)
- Shichimen Warrior
- Lone Shadow Masanaga the Spear-Bearer
New Game +1 Charmless
From easy to hard
- Mist Noble
- Leader Shigenori Yamauchi
- General Naomori Kawarada
- Seven Ashina Spears - Shibibu Toshikatsu Yamauchi
- Armored Warrior
- General Tenzen Yumauchi
- Chained Ogre
- Long-arm Centipede Giraffe
- Diving Dragon (Boss)
- Gyoubu Oniwa (Boss)
- True Monk (Boss)
- Blazing Bull
- Ashina Elite - Jinsuke Saze
- Lone Shadow Longswordsman
- Genichiro Ashina (Boss)
- Guardian Ape (Boss)
- O’Rin of the Water
- Great Shinobi - Owl (Boss)
- Headless Ape (Boss)
- Isshin, the Sword Saint (Boss)
Those I cheesed
- Snake Eye Shirahagi
- Corrupted Monk (Boss)
New Game +2 Charmless + Demon Bell
- Mist Noble
- Leader Shigenori Yamauchi
- Shinobi Hunter Enshin
- Chained Ogre
- General Naomori Kawarada
- Genichiro Ashina (Boss)
- Long-arm Centipede Giraffe
- O’Rin of the Water
- Gyoubu Oniwa (Boss)
- General Tenzen Yumauchi
- Armored Warrior
- Lone Shadow Longswordsman
- Blazing Bull
- Ashina Elite - Jinsuke Saze
- Seven Ashina Spears - Shibibu Toshikatsu Yamauchi
- Lone Shadow Vilehand
- Guardian Ape (Boss)
- Corrupted Monk (Boss)
- Lady Butterfly (Boss)
- Emma + Isshin Ashina (Boss)
Those I cheesed
- Snake Eye Shirahagi
- Juzou the Drunkard
New Game +3 Charmless + Demon Bell without HUD
- Leader Shigenori Yamauchi
- General Kuranosuke Matsumoto
- Lone Shadow Longswordsman
- General Naomori Kawarada
- Genichiro Ashina (Boss)
- Armored Warrior
- Gyoubu Oniwa (Boss)
- Blazing Bull
- Shinobi Hunter Enshin
- General Tenzen Yumauchi
- O’Rin of the Water
- Long-arm Centipede Sen-Un
- Chained Ogre
- Ashina Elite - Jinsuke Saze
- Tokujiro the Glutton
Gauntlet of Strength - Charmless + Demon Bell
- Gyoubu Oniwa
- Inner Genichiro
- Lady Butterfly
Chained Ogre
Original Playthrough
Keep throwing fire on him and then attack & dodge. One of the easiest miniboss in this game.
Died only once against it, which is pretty impressive for an average gamer like me I guess.
NG+1 Charmless
I was able to stealth kill its first health bar in my original playthrough, but I can’t do that now without using Gachii’s sugar. I ended up fighting it straight on and finishing its 2 deathblows by using fire and keep baiting & attacking.
NG+2 Charmless
Flame vent all the way, 1st try.
NG+3 Charmless without HUD
Not knowing its health make it so hard for some reason. I just kept dying. So in the middle of the final attempt, I had to turn HUD back on, and finished it easily.
~5 tries.
Shinobi Hunter Enshin
Original Playthrough
Clear all the guards, stealth kill for one health bar, and then just fight.
NG+2 Charmless + Bell
First time I just went in without clearing the guards, thinking this would only take a moment, but then I was shot to death by 100 fire arrows. Second time I did the needful and he was easy as hell obviously. Just a miniboss teaching you how to do mikiri counter. Come to think of it, there’s another shinobi hunter in Ashina Reservoir I think.
NG+3 Charmless without HUD
Clearing the guard is a bit difficult without the indicators. I kept being discovered by them. Fighting the shinobi hunter himself was also harder than before, mainly because I now have One Mind on instead of Ichimonji Double, and I hadn’t got used to the timing yet.
Juzou the Drunkard
Original Playthrough
Run past all the dudes in the first area, assassinate all the guards one by one, and then stealth attack the big fat sumo guy, leaving him one more deathblow. Lure him to the NPC on your side and let them fight, while keep attacking the drunkard from the back.
NG+2 Charmless + Bell
I didn’t cheese him technically but I didn’t have the chance to fight him head on at all, so I guess it can be counted as a cheese. I cleared all the guard while puppeting one fire arrow guy, lured him to the blue samurai, and hit him opportunistically. He died before the blue samurai did, that’s a first.
General Tenzen Yumauchi
Original Playthrough
Clear all the guards first, and then assassinate the general. After that, side step to dodge and then attack.
Died a thousand times against him until I checked a guide.
NG+1 Charmless
ez first try
NG+2 Charmless
I can’t believe I didn’t beat him first try. Took me 2 attempts.
NG+3 Charmless without HUD
I haven’t figured out the timing of One Mind and it’s costing me. Took me 3 tries.
Gyoubu Oniwa (Boss)
Original Playthrough
Pretty straightforward, just deflect til the end, no need to attack at all. The attacks are big and easy to recognize, so perfect parrying every attack isn’t too hard, after you died a few times to learn the pattern.
NG+1 Charmless
This is when I realized my deflection still suck. At charmless, you’ll still get some health damage when you block but not deflect an attack, and this boss is deflection based, so you’ll have to deflect so many times, but I’m just not that good. In the end, I have to use firecrackers to make the fight easier.
NG+2 Charmless
This is supposed to be first try, but the inconsistent firecracker decided to not work that time and got me killed. Got him in 2nd try.
NG+3 Charmless without HUD
Not too hard when taking a defensive stance. I was surprised when I got the deathblows. His opportunities for grappling hook are pretty easy to spot as well, so without HUD isn’t too much of a problem.
2 tries.
Blazing Bull
Original Playthrough
Run after its butt, and attack when he’s making a very slow turn against the walls. Use firecrackers from time to time for some easy hits.
NG+1 Charmless
I hate this one so much. Its healthbar is unreasonably and unnecessarily massive, so you have to keep following its butt, go for 1 or 2 hits when its turning and repeat for a thousand times. Such a chore.
NG+2 Charmless
Took me 4 tries, not as bad as I thought. Since NG+ charmless gives the 2 soldiers so much more health, they’ are always still be alive when you’re fighting with the bull, and I just cannot deal with the three of them at the same time. But when I die the first time, the 2 guys will be killed by the bull, so my 2nd life is where the real fight starts.
NG+3 Charmless without HUD
Still a lameass fight, but not having HUD made it easier in some way. Not knowing the health of the boss, you would just patiently reduce its health bit by bit, and although hesitation is defeat, patience is the key in many of the fights.
I never feel like firecracker is a good use in this fight, because the target lock is on the bull’s head, forcing you to be at the bull’s front when you attack , thus making you extremely vulnerable to its attacks. Almost didn’t use firecrackers at all in the 2nd attempt and it’s an easy win.
Armored Warrior
Original Playthrough
Keep deflecting. When the posture bar is almost full, lure him to right against a wall, and then deflect / attack to reach a deathblow.
A pretty straightforward miniboss but there are many times I reached a deathblow only for him to stumble a few steps and then regain posture as he wasn’t beside a wall.
NG+1 Charmless
A bit hard but still first try
NG+2 Charmless
I embarrassingly took 4 tries to defeat him. I became too greedy in the first few tries.
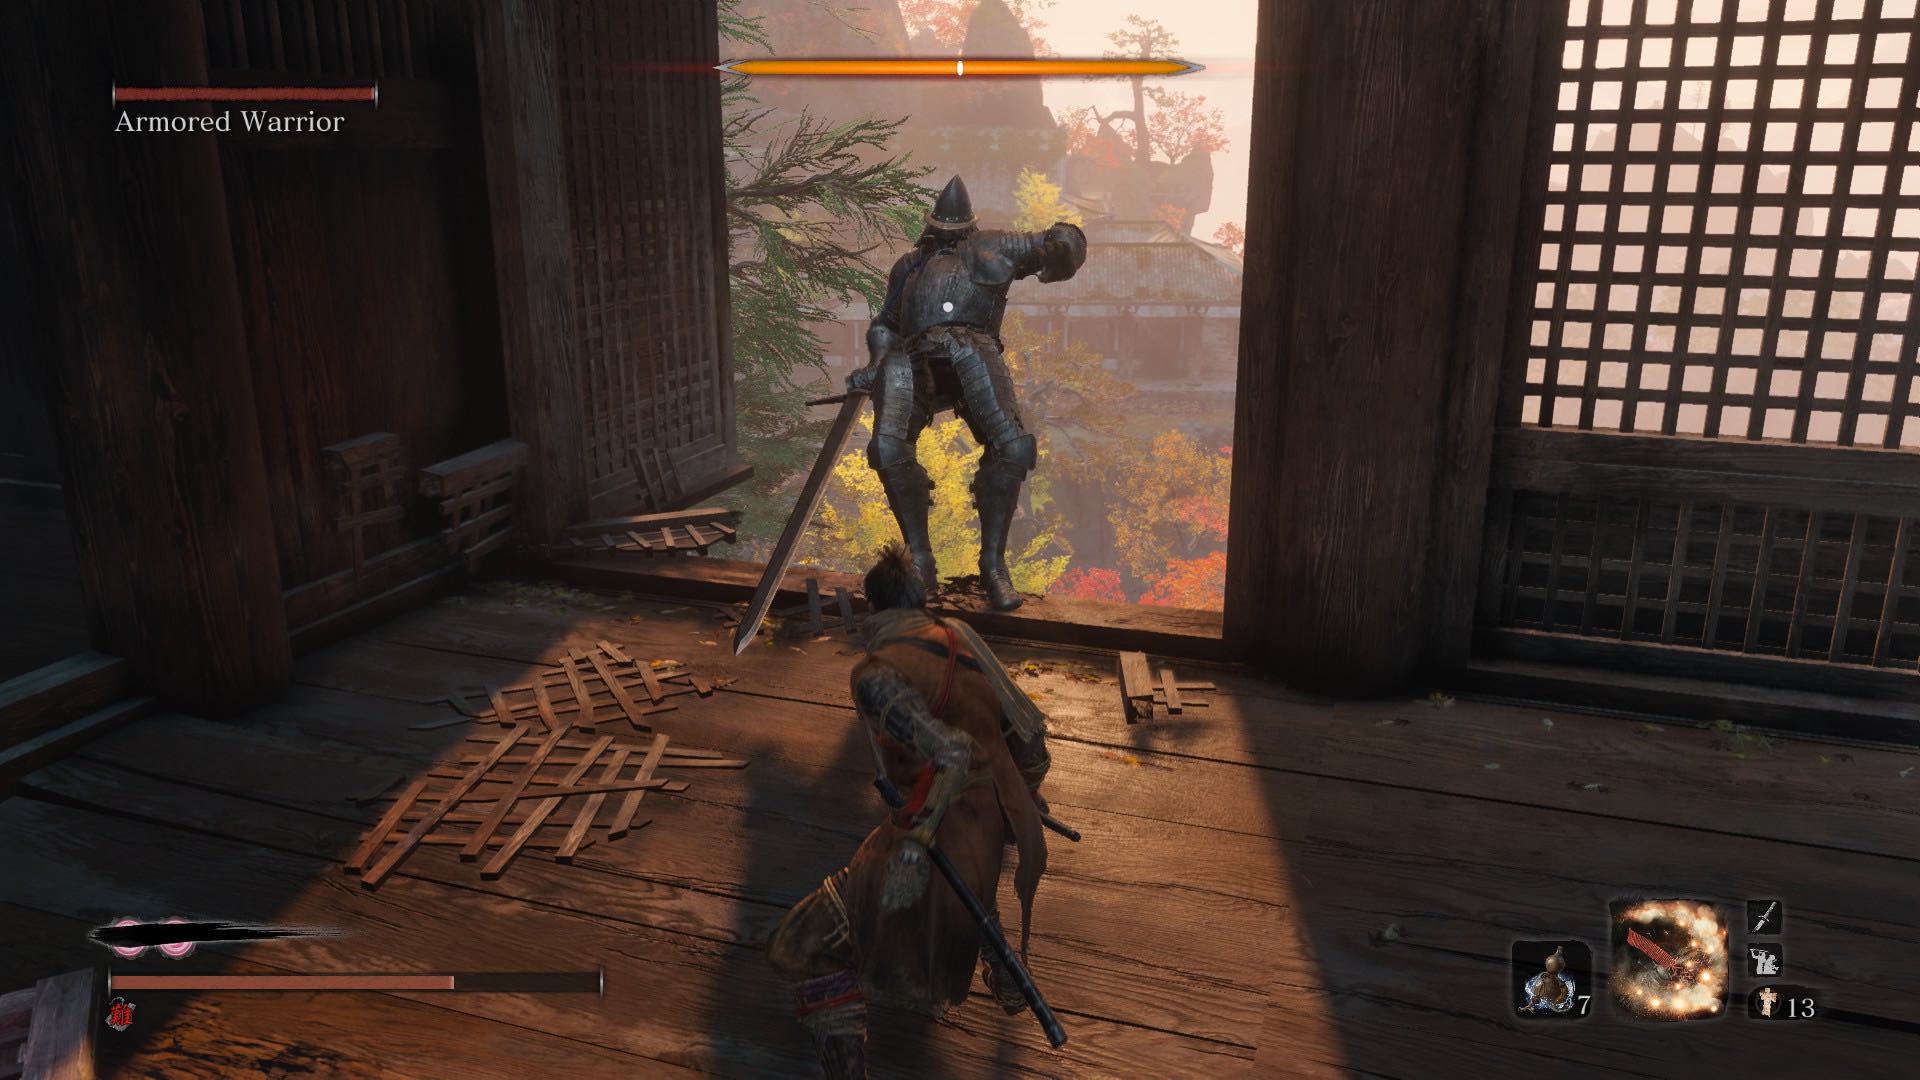
NG+3 Charmless + Bell without HUD
3 tries. You have to keep keeping him close to the edge because you don’t know when his posture will be broken without HUD.
A fun fight as always.
Seven Ashina Spears - Shibibu Toshikatsu Yamauchi
Original Playthrough
Yes I cheesed him, because I’m bad.
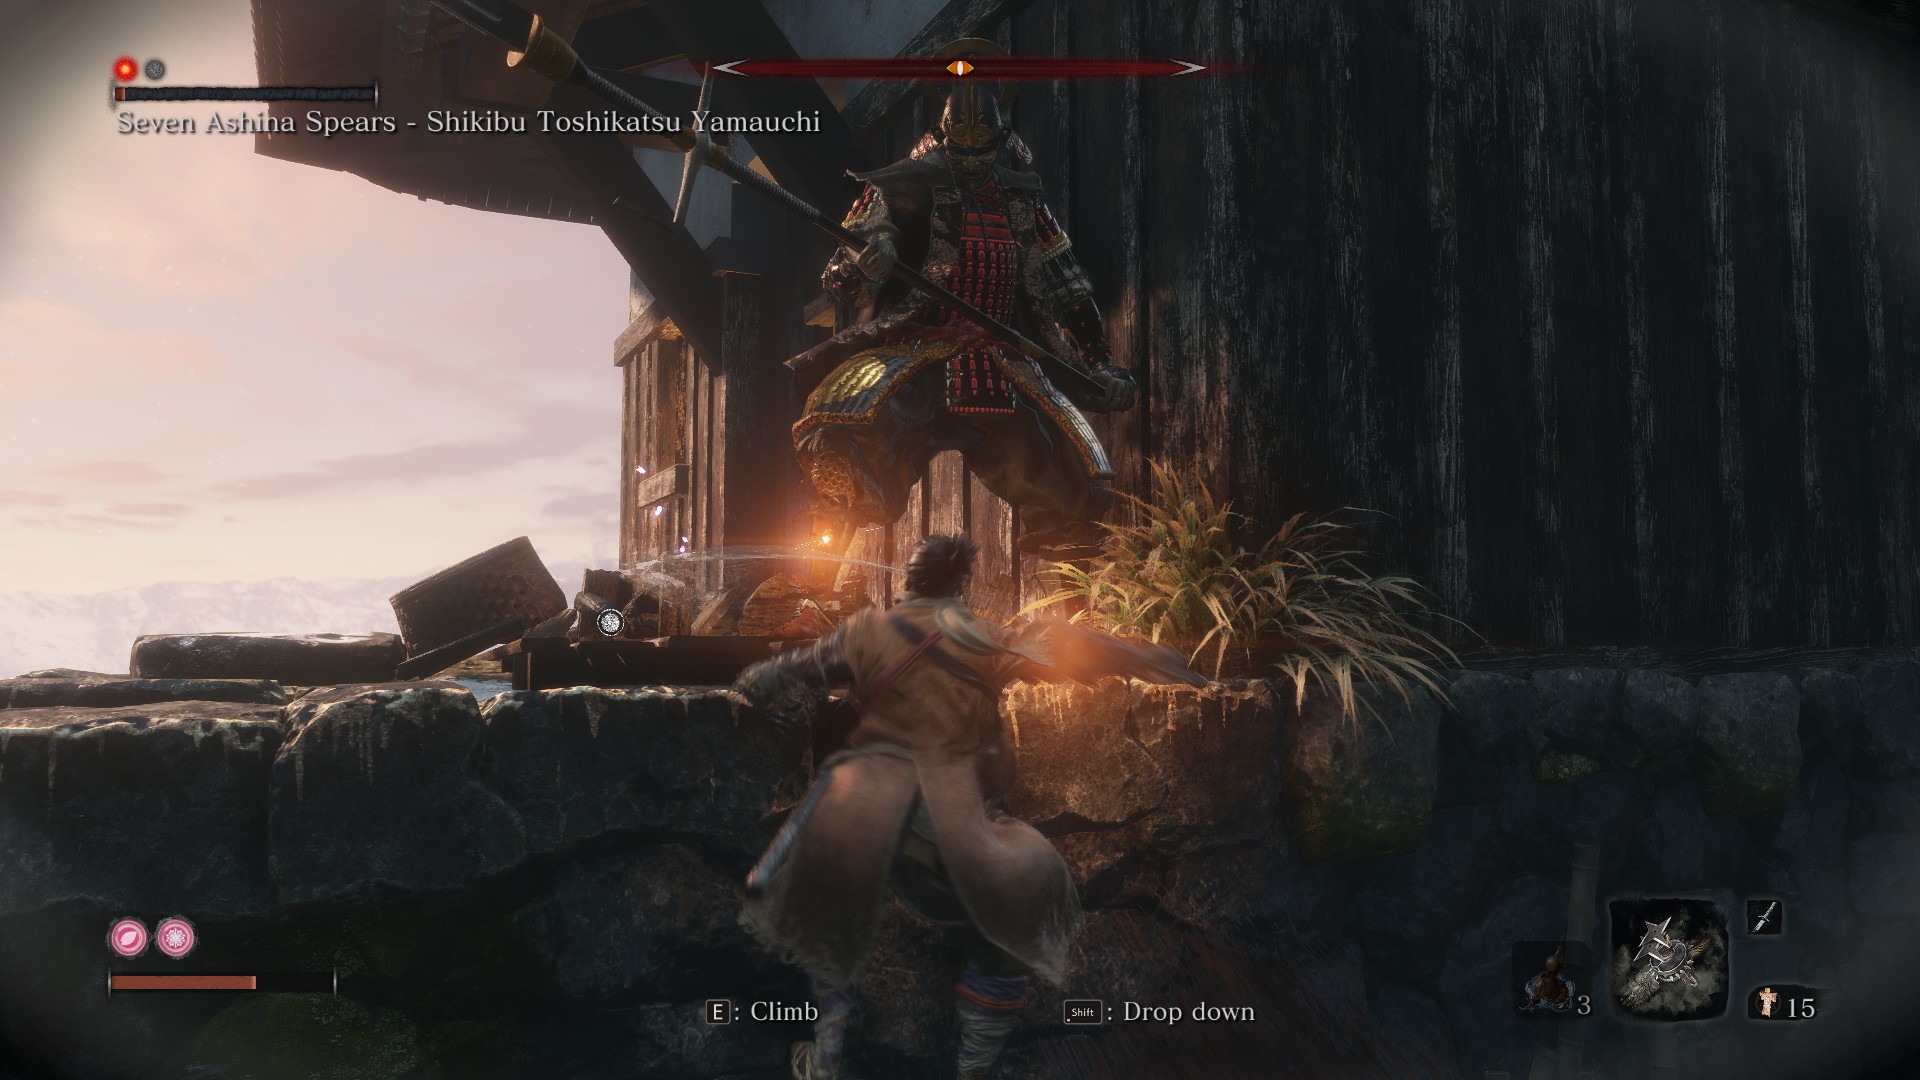
Rope from the side of the cliff and lure the enemy overlooking the house, kill him head-on without alerting the general, and then stealth attack the general, leaving him 1 health bar.
After that, lure him to the top of the stairs, right against the house wall, and then ledge on the edge and spam attack. It takes forever, but most definitely still faster than if I keep on trying to fight head-on like a samurai.
NG+1 Charmless
Double Ichimonji really trivializes him. Can’t believe I struggled at him during my 1st playthrough.
NG+2 Charmless + Bell
Took me like 10 tries. For some reason his sweep attacks were unrecognizable to me until the final attempt.
All the general type minibosses are given me a harder time than in my 2nd playthrough.
NG+3 Charmless + Bell Without HUD
Took me almost 10 tries. His sword is just so fast.
General Kuranosuke Matsumoto
Original Playthrough
Clear the guards with air assassination & shuriken from the rooftop and then do stealth deathblow to the general. Regular parry dodge attack afterward. He regains his posture pretty quickly, but not so much after losing half of his health.
I actually almost never died on this one, because when my health is low, I just ran back to rest.
NG+3 Charmless without Hud
1st try
Ashina Elite - Jinsuke Saze
Original Playthrough
He may seem overwhelming at first, but once you figure it out, it is actually goddamn easy. Never mind attacking at all, just deflect the quick 2 consecutive attacks, which immensely increase his posture bar, so after deflecting like 5 times, the deathblow would be presented to you. The exact same for the second phase. I never got hit once on my final attempt.
NG+1 Charmless
This one is so fucking hard. I thought I got the deflection timing right but no, I still always got chip damage. Took me 10+ tries to barely make it.
NG+2 Charmless + Demon Bell
5 tries. I found that you shouldn’t keep your guard up when not doing anything as the latency between releasing block and then pressing again will make you unable to deflect his lightning fast attacks.
Genichiro Ashina (Boss)
Original Playthrough
This one is like a great LeetCode medium problem. It is not as overwhelming as many other bosses or mini-bosses at first. His attacks are not lightning-fast, and his movements are big, so it’s relatively easy to parry & dodge. The problem is that, it takes forever to reach a deathblow, even if you use a somewhat aggressive play style, and it’s hard to keep yourself error free during such a long process. Therefore, you’ll have to keep optimizing your movements, parrying and attacks in order to finally beat him …… only to trigger phase 3 …
Phase 3 actually doesn’t take as long as the previous 2 phases, once you master the timing of lightning uno reverse.
NG+1 Charmless
It it still incredibly hard. Getting chip damage on block is just way too brutal. Took me 10+ tries.
NG+2 Charmless + Demon Bell
Not a no hit run by any means, but still first try,
Honestly after so many Genichiro fights, his moves just become so dull and repetitive.
NG+3 Charmless + Demon Bell without HUD
1st try. Shadowfall is working against me, so I switched to High Monk mid-fight, and it’s pretty good I think. I used it against his sweeps and lightning attack. Not sure about the actual posture damage because I couldn’t see his posture bar.
Snake Eyes Shirafuji
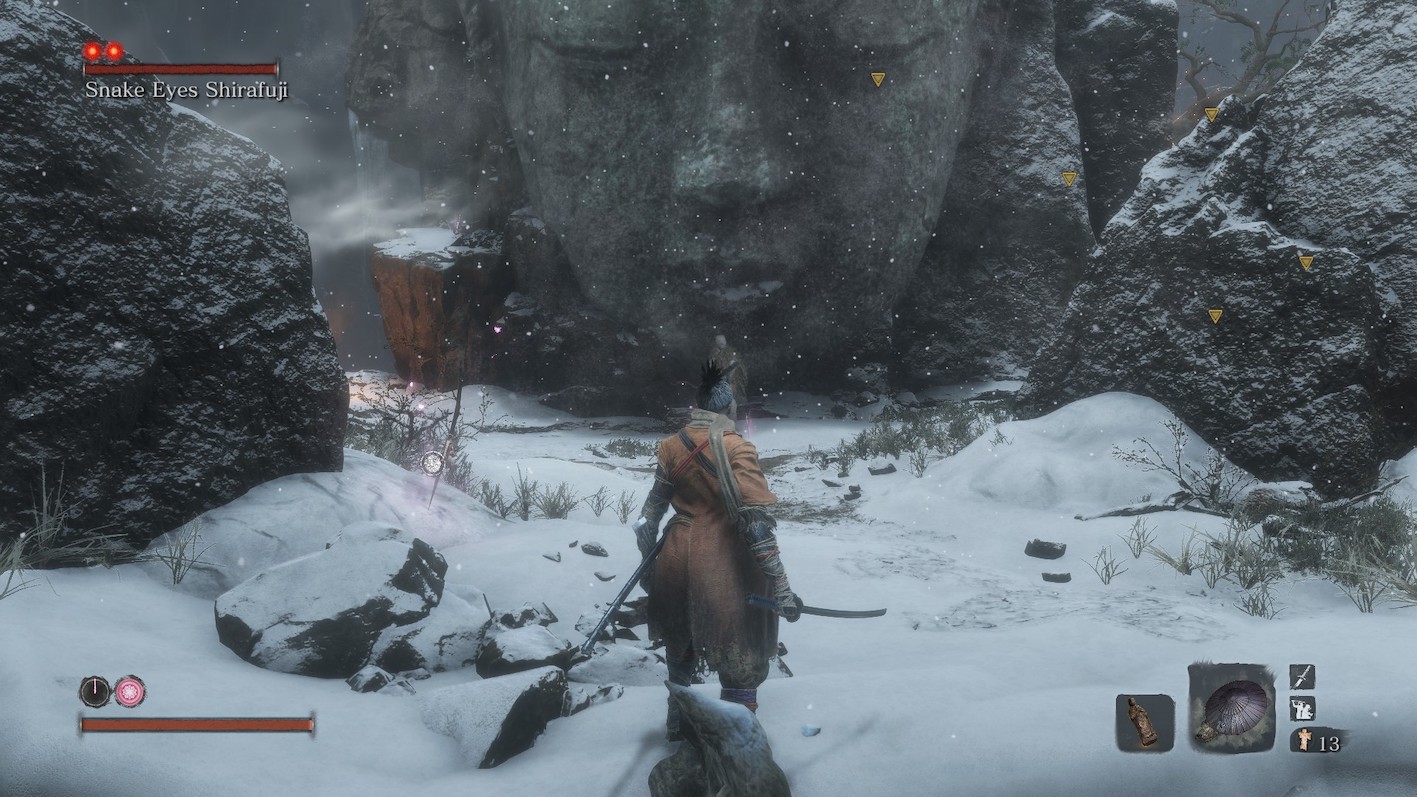
Run past her far enough and then sneak back for a stealth deathblow. After that use Shibimaru 6x combo to poison her 3 times, and then the deathblow will be presented.
Long-arm Centipede Giraffe
Original Playthrough
Beat it on first try. 1234 12345 1 double jump
NG+1 Charmless
I can’t believe I didn’t realize the actually timing of deflecting until now. You have to click BEFORE the attack lands! Took me like 5 tries.
NG+2 Charmless + Bell
Whoever told me high monk deals insane posture damage is fucking lying. I tried it and it’s the most useless skill possible.
Took me 5 tries.
Folding Screen Monkeys (Boss)
Original Playthrough
Have to look up a guide on this one.
NG+1 Charmless
It is fucking brutal. Staying at one place for too long, then the purple terror monkeys will SWARM at you, really scary.
NG+2 Charmless + Bell
Really don’t like this “fight”. The purple monkeys are disgusting.
Lady Butterfly (Boss)
Original Playthrough
Died a million times in early game, so I gave up. Coming back now, it’s a lot easier. For phase one, just spam side step & attack, shuriken when she flies to the air. For phase two, same thing but run around like a maniac until the ghosts and magical flying golden papers disappear.
NG+2 Charmless + Bell
I didn’t fight her, or in fact, the entire hirate estate, either, in the previous playthrough either, and it costed me. Took me like 20 tries to beat her.
This fight really requires some luck. If she’s stuck in the block-block-deflect-kick, rinse and repeat loop, then she’s pretty easy to beat. However, she would also often jump out of the loop and use other attacks, which are lethal in the 2nd phase with the phantom kunais. I still cannot reliably deal with those attacks perfectly. Since I have accumulated a ton of snap seeds, I finally tried them, and they’re so useless. Snapping a snap seed only clears out the ghosts within a range, not all of them. So the best strat in the ghost phase is still running around until they become phantom kunais, which are pretty easy to dodge.
All the Lady Butterflies in those NG+7 charmless bell no hit vids on Youtube are also stuck in the block-block-deflect-kick loop. Figured those Sekiro masters can’t get pass the other attacks without getting hit either.
Gauntlet of Strength - Charmless + Bell
This boss is such a pain in the ass. The single biggest obstacle in my Gauntlet of Strength - Divine Heir journey. This boss is very tricky. It can be formulaic like Genichiro, but she often jumps out of the battle flow and flies around or throwing phantom kunais. In the end, I just ignored the phantom kunais and keep on attacking.
When she unfortunately summons the ghosts, just run to the center and use snap seed, and be back to the battle immediately.
Long-arm Centipede Sen-Un
Original Playthrough
Died on my first try when I first got to the temple area and ran away. Coming back, wow it’s so easy. Stealth kill one health bar, and then 1234 12345 1 double jump, kill.
NG+3 Charmless + Bell without HUD
I thought it would be easy so I did not kill all of the enemies before fighting it for the first few tries, but I kept dying from the fire. And I don’t think its moveset is only the 1234 12345 1 one I remember. I feel like sometimes the combo is different.
Anyway, in the final attempt I clear the area first, and then finally beat it.
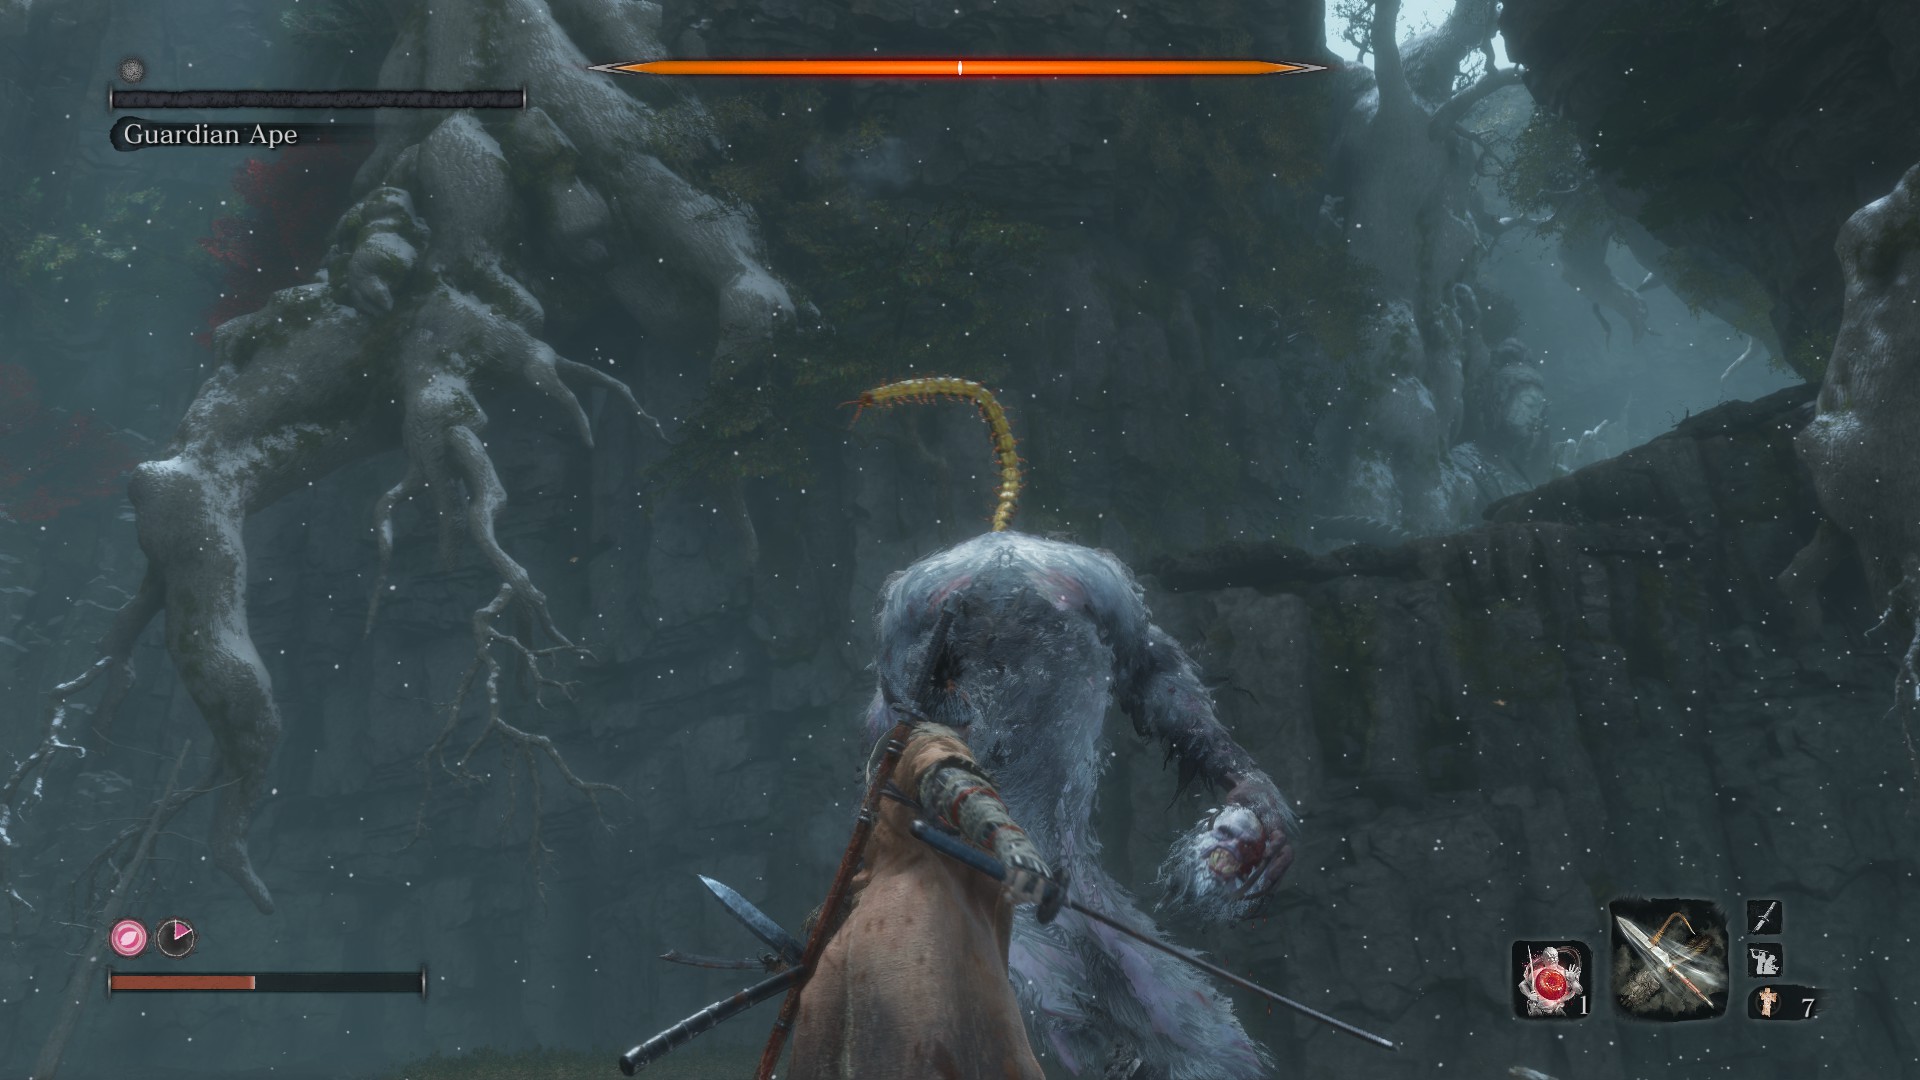
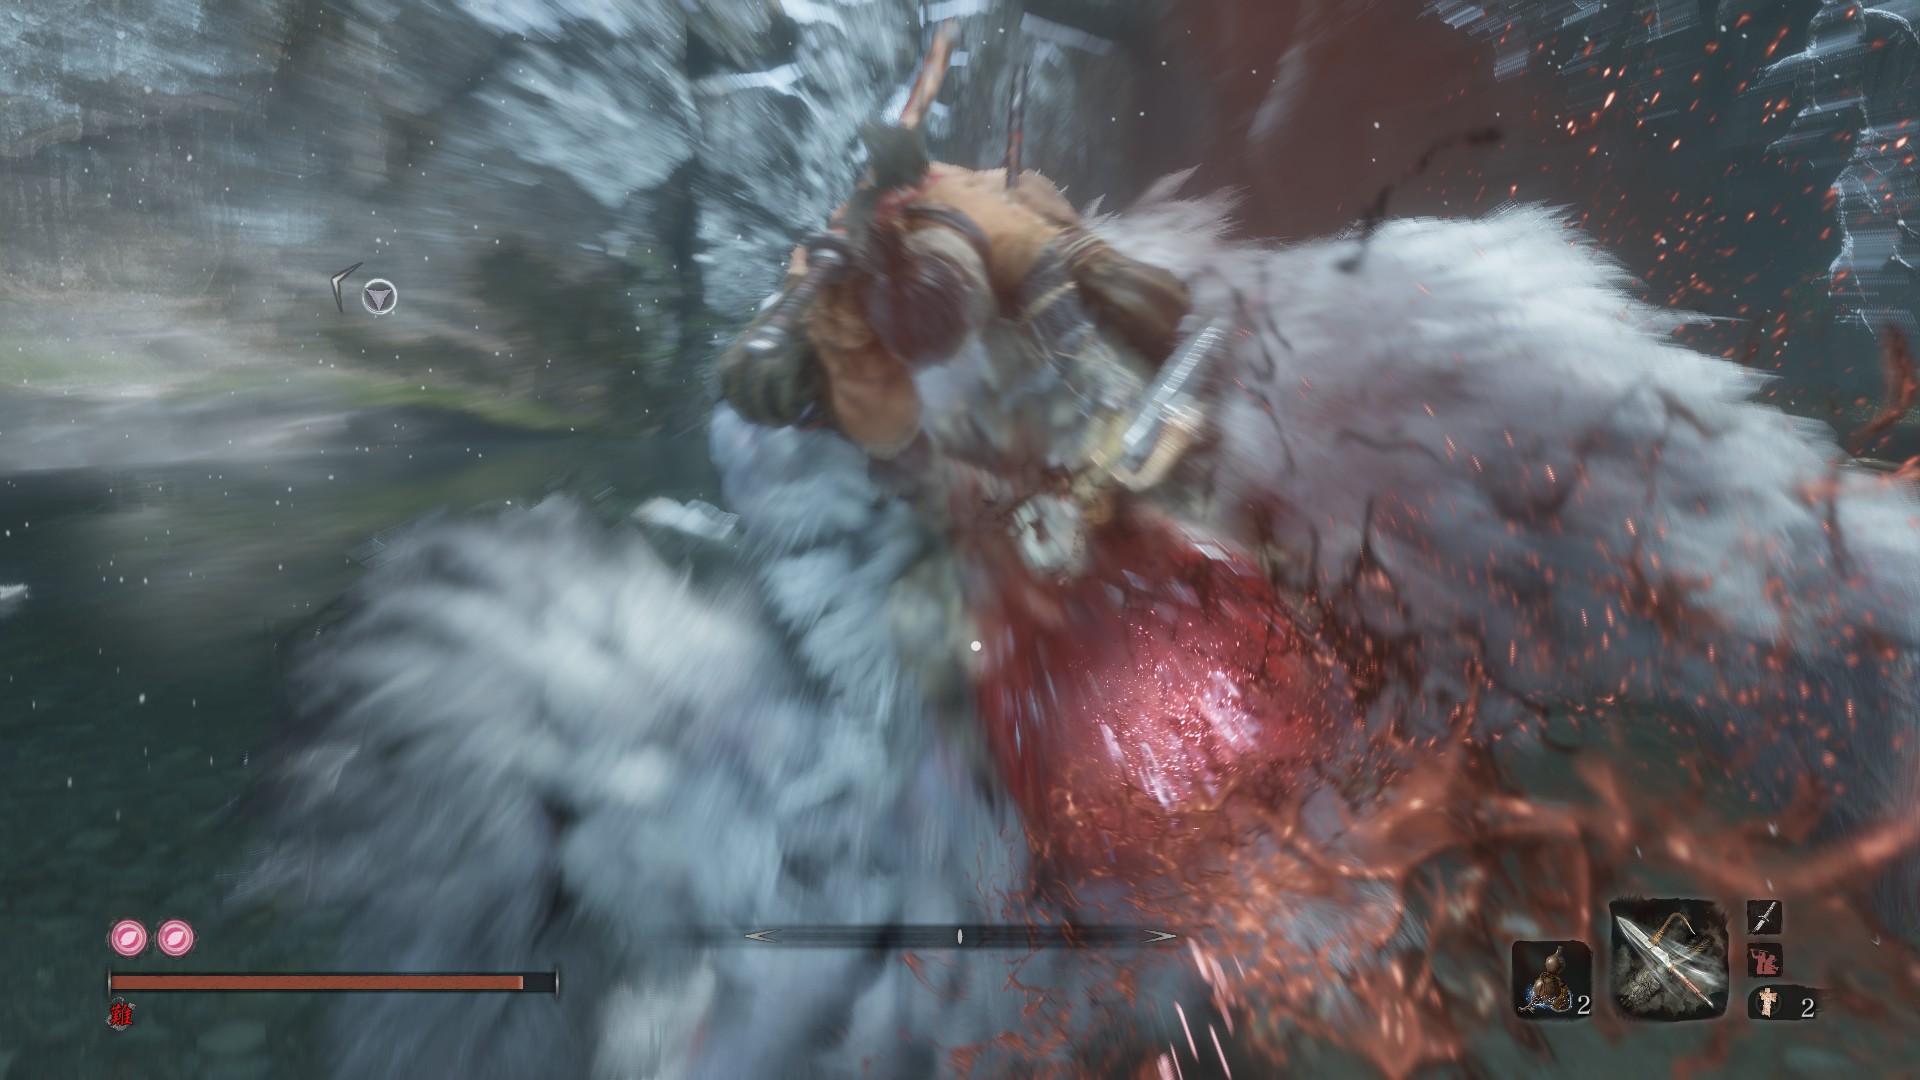
Guardian Ape (Boss)
Original Playthrough
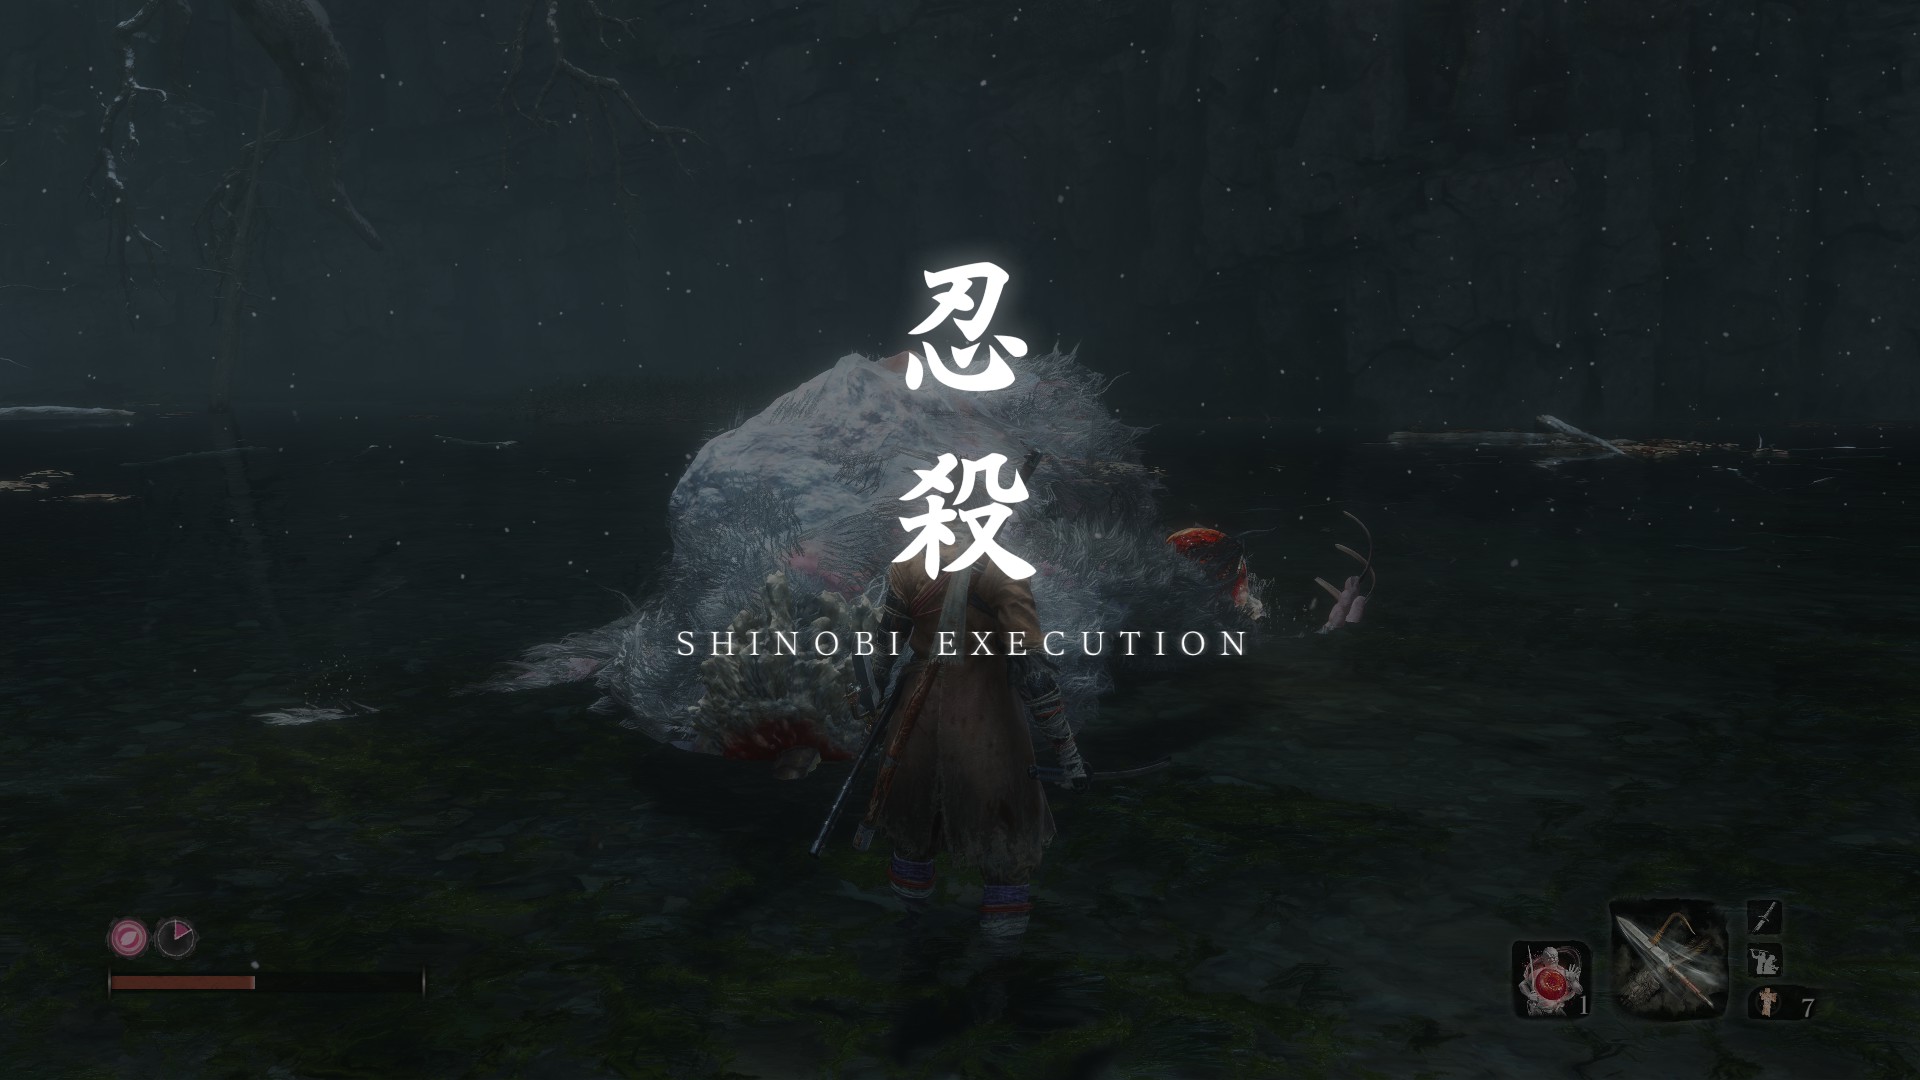
Still haven’t quite figured out phase 1 tbh. In my final fight, I still died one time before finishing the 1st deathblow. The 2nd phase is much more predictable tho. Just do basic deflections when it attacks and use your prosthetic spear to thrust its broken neck when its down after you deflect its final chop in its attacking sequence. Back off when it’s about to shout to escape from the terror range. Repeat.
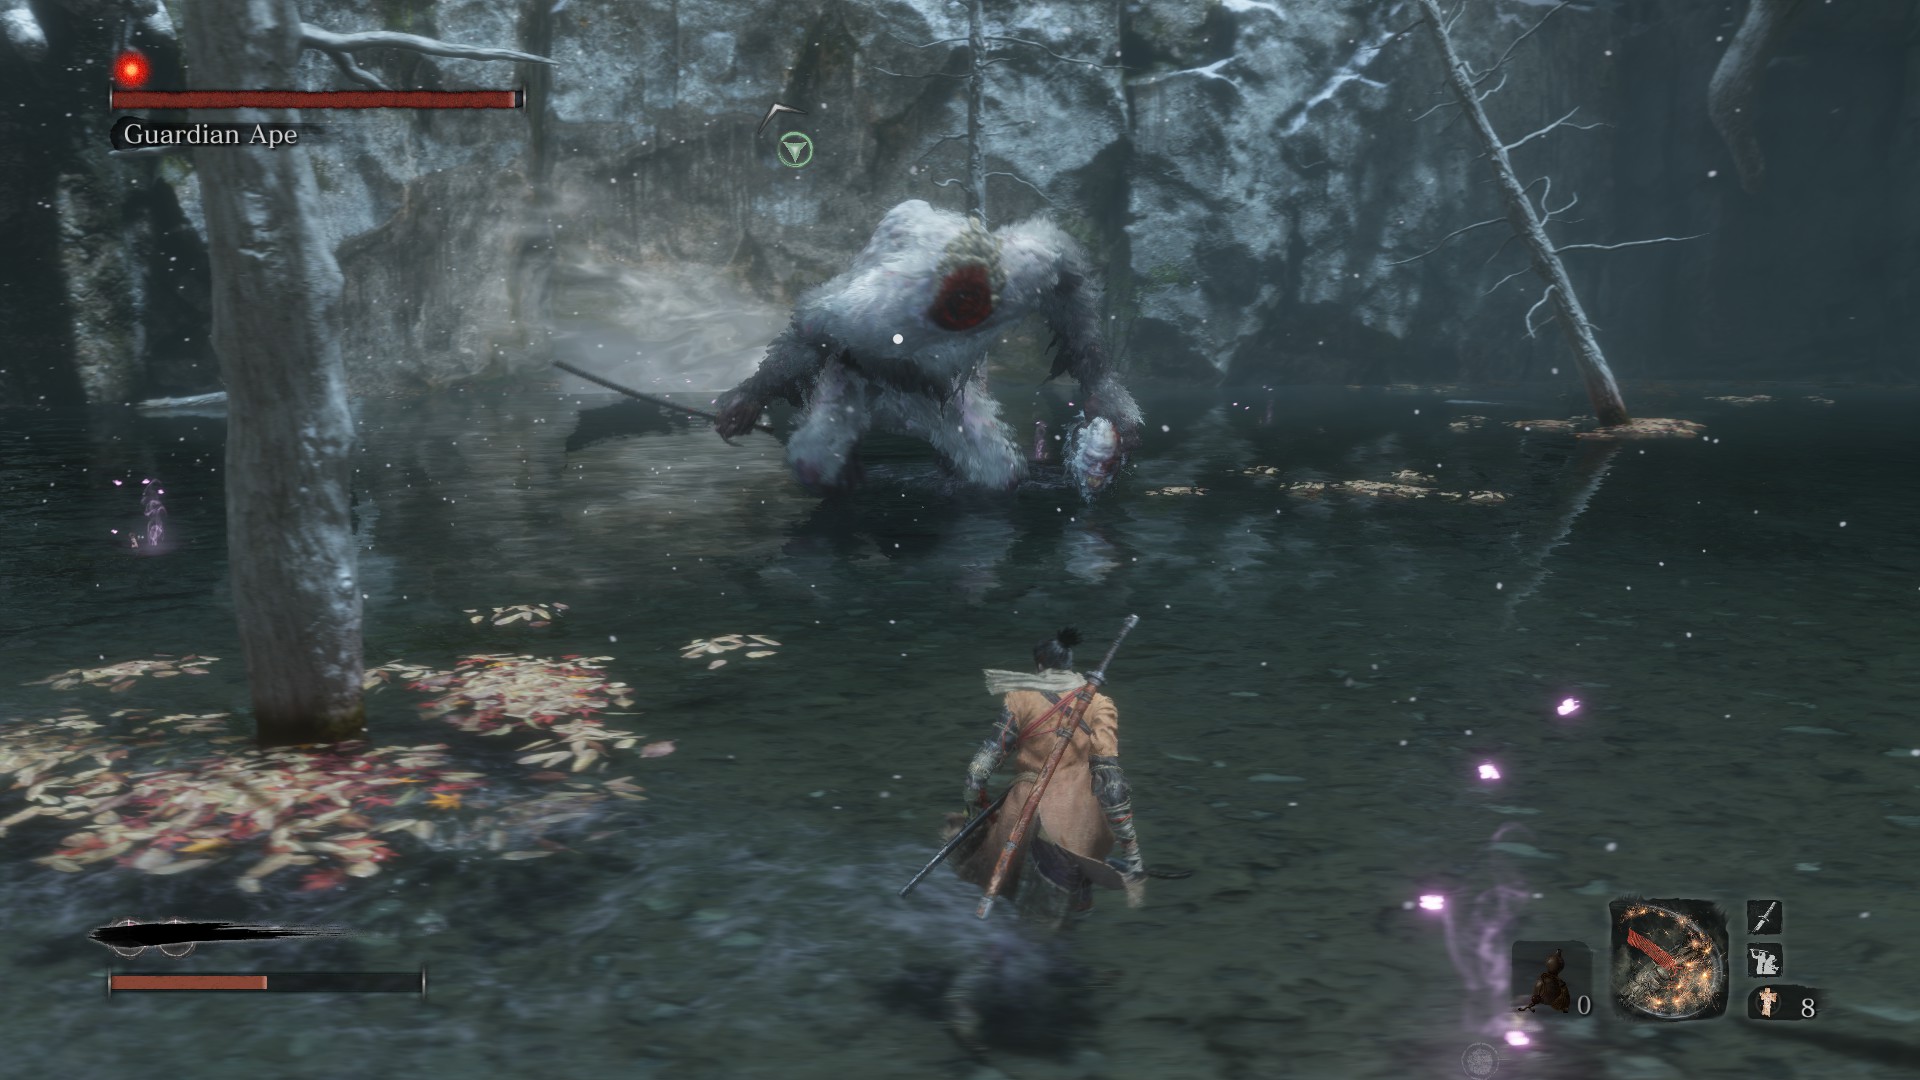
Phase 2 is really disgusting tho

NG+1 Charmless
Took me 10+ tries to get pass phase 2, and then beated phase 2 in 1st try.
Phase 1 is just too hard. I ended up using flame vent quite a lot, it really makes the fight much easier as it does tons of damage compared to your little chips. I finally discovered how to reliably dodge its lunging grab, just stay close to it and then dodge side back when it’s jumping.
NG+2 Charmless + Bell
About 8 tries. In the first attempt I mortal drawed the first phase out in relative ease amazingly, but I died in the 2nd phase. I could not replicate the success for some reason. The uncharged mortal draw also deals about as much damage as regular attacks, so after my spirit emblems ran out, it’s pretty much useless. In the final 2 attempts, I switched back to the good old firecracker, and the fight became much more manageable. The 5 spirit emblems left was enough for me to speared the fuck out of the 2nd phase. Firecracker + spear really is really the best combination in this fight.
Lone Shadow Longswordsman
Orignal Playthrough
Pretty hard, but manageable once you figure out you can mikiri counter his kick.
NG+1 Charmless
His kicks are incredibly hard to deflect. Took me way too many tries to finally beat him, on par with my original playthrough I think. Taking damage when blocking really makes the game so much harder.
NG+2 Charmless + Bell
Lone shadows are always a pain. 3 tries.
NG+3 Charmless + Bell without HUD
1st try by spamming One Mind.
Snake Eyes Shirahagi
Take out his 1st deathblow with stealth, and then grapple to the vantage point, be out of his line of sight, and then wait for him to slowly die in the poison pool. It really really takes a long time, because his vitality won’t be 0 until he got through 3 poison status cycle, and it takes a long while for him to get to the poison status. And after all these you still have to get down to finish him.
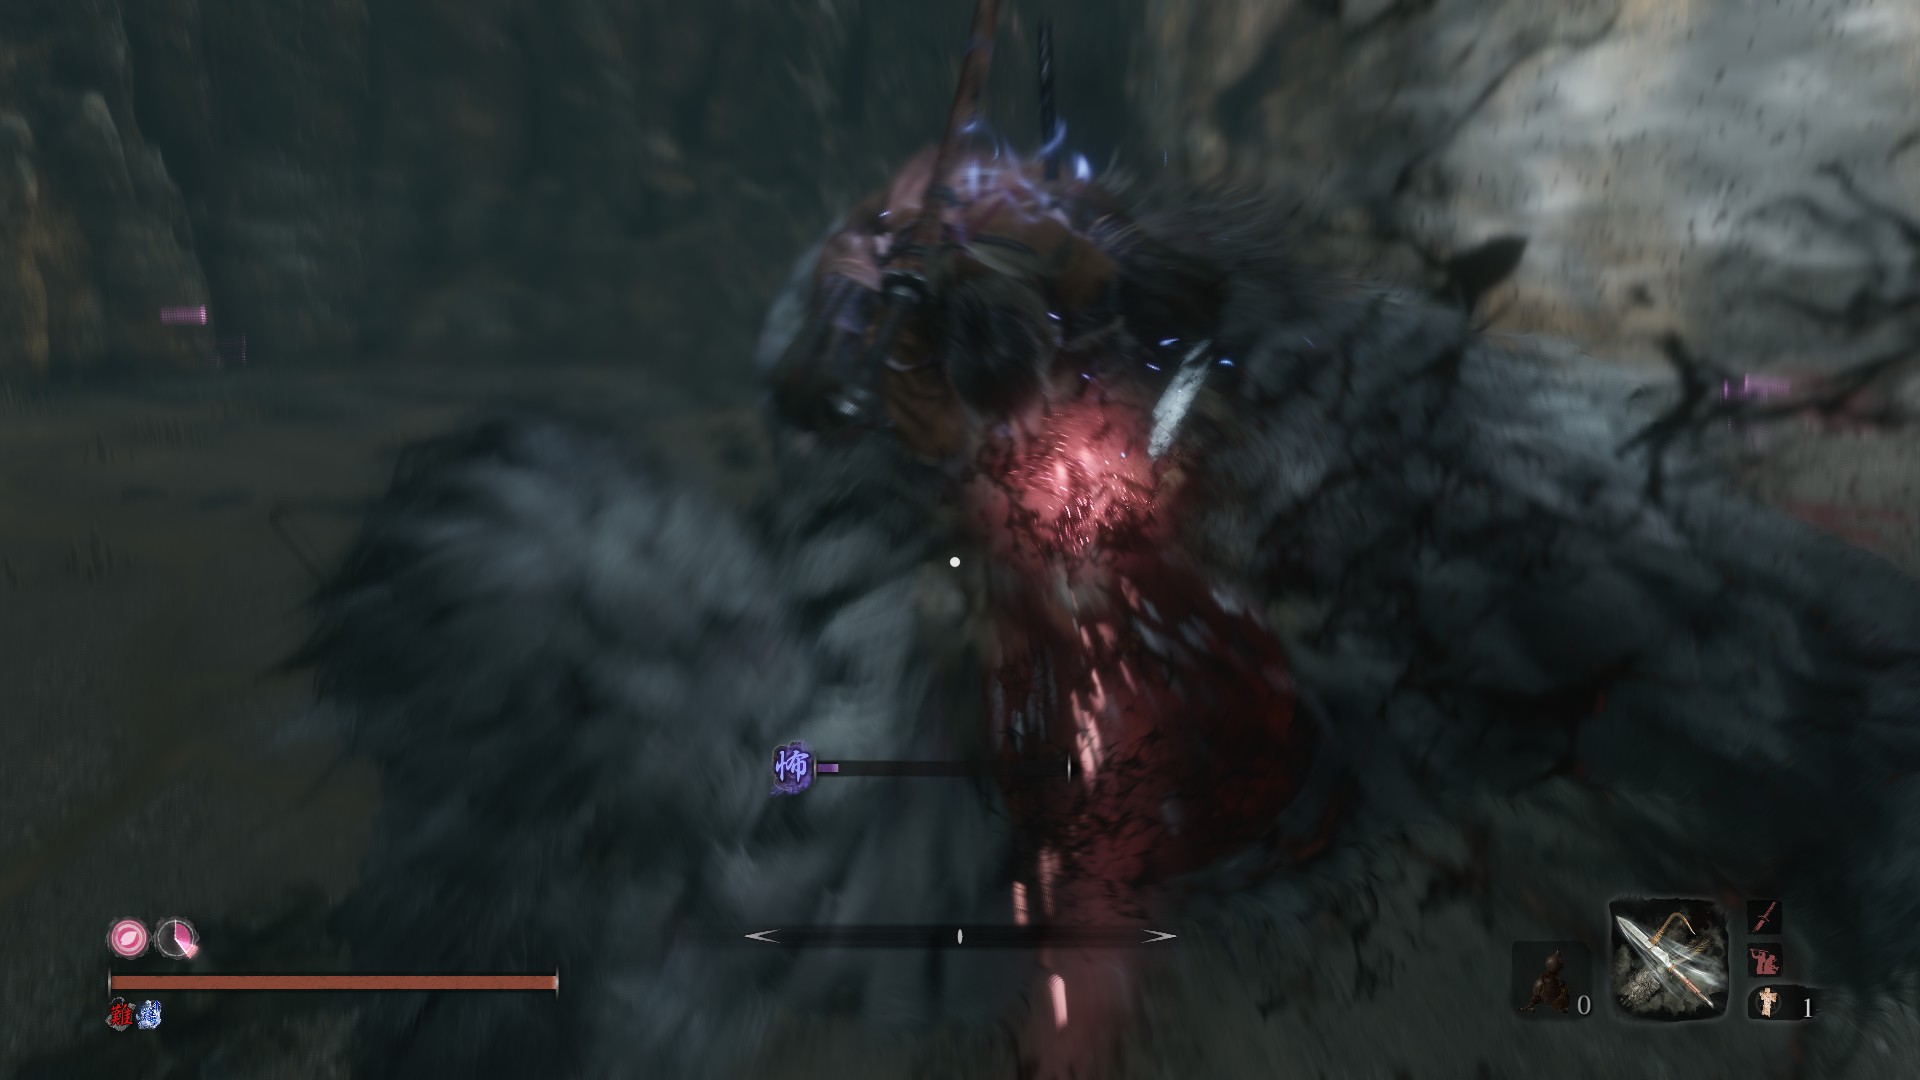
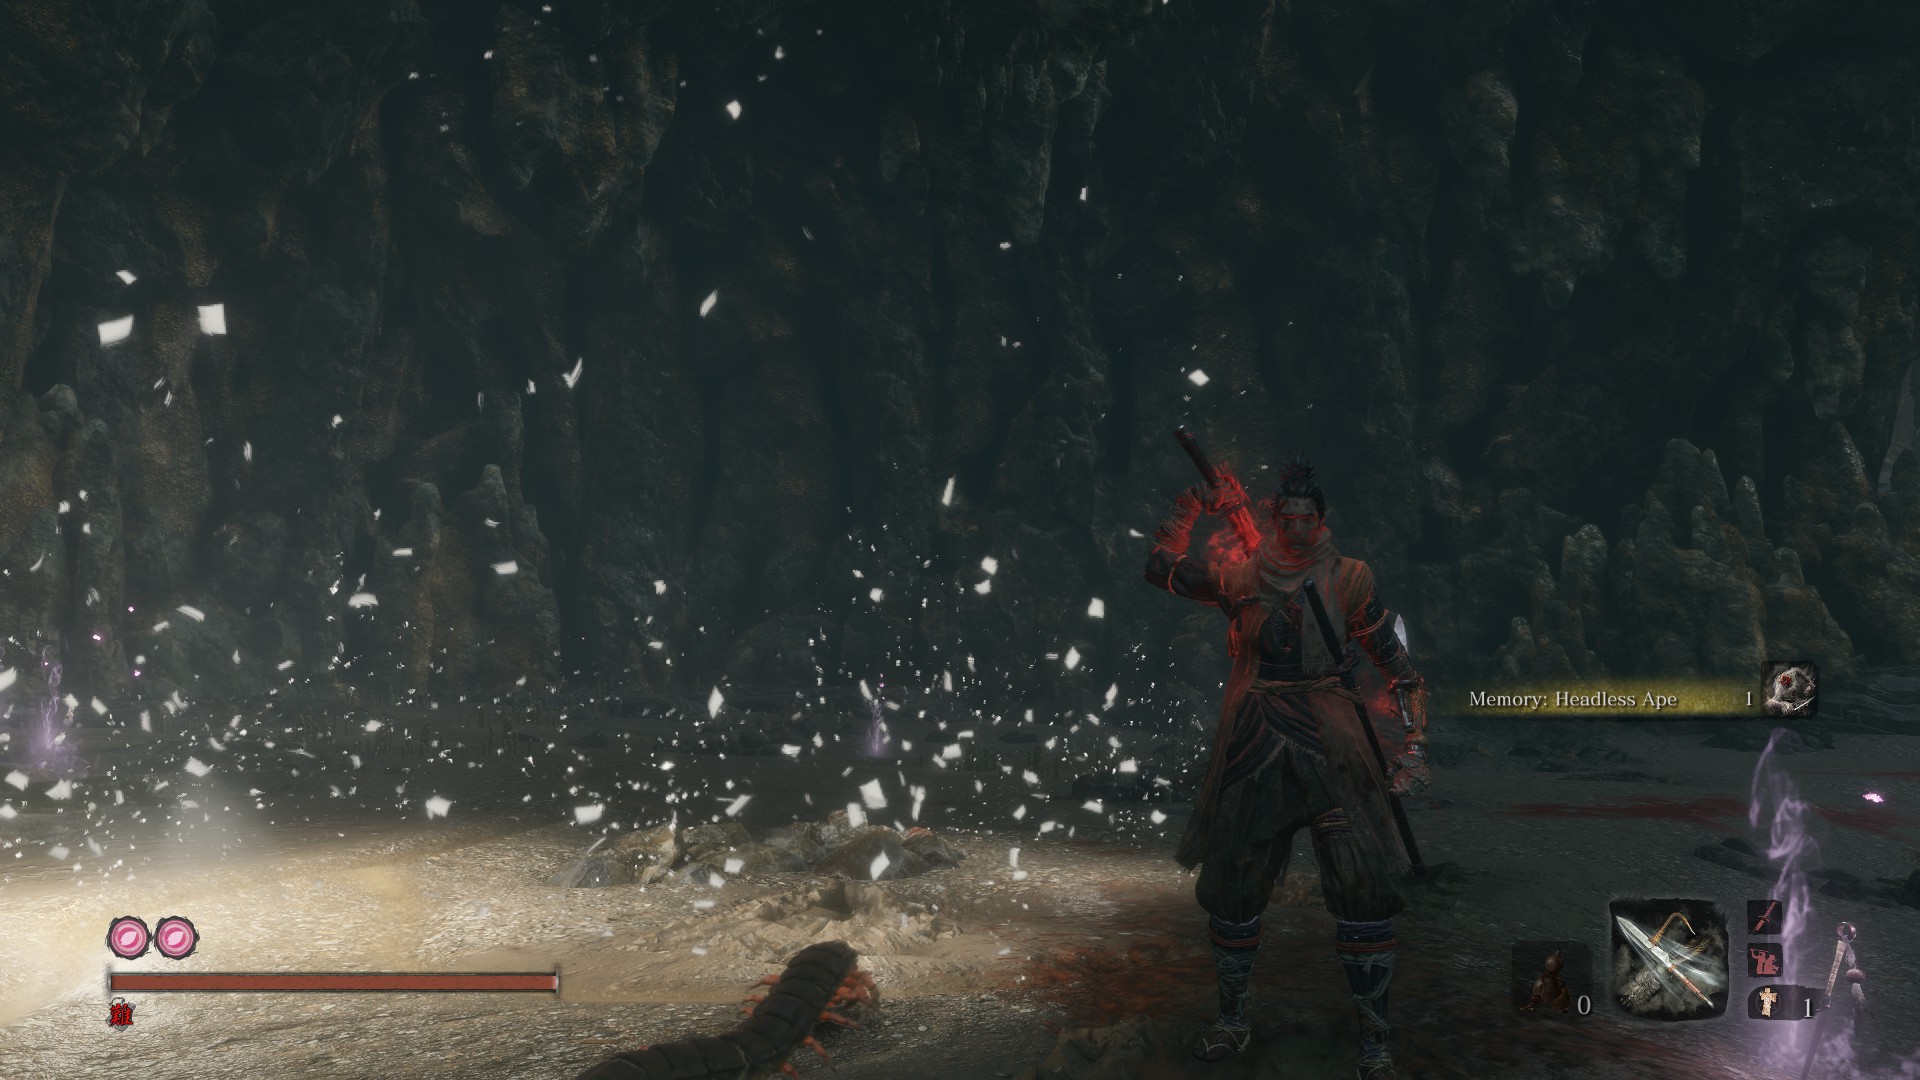
Headless Ape (Boss)
Original Playthrough
1st phase is just the 2nd phase of Guardian Ape, which is very predictable with well defined pattern, so it’s very easy to beat. 2nd phase is just the same but with another smaller ape. This ape is pretty unagressive and only attacks sometimes however, so you can just ignore it and still focus on the main headless ape, and parry when it finally attacks. It does make the fight a bit more tricky, but not significantly. After you defeat the headless ape, this small brown ape will also disappear automatically.
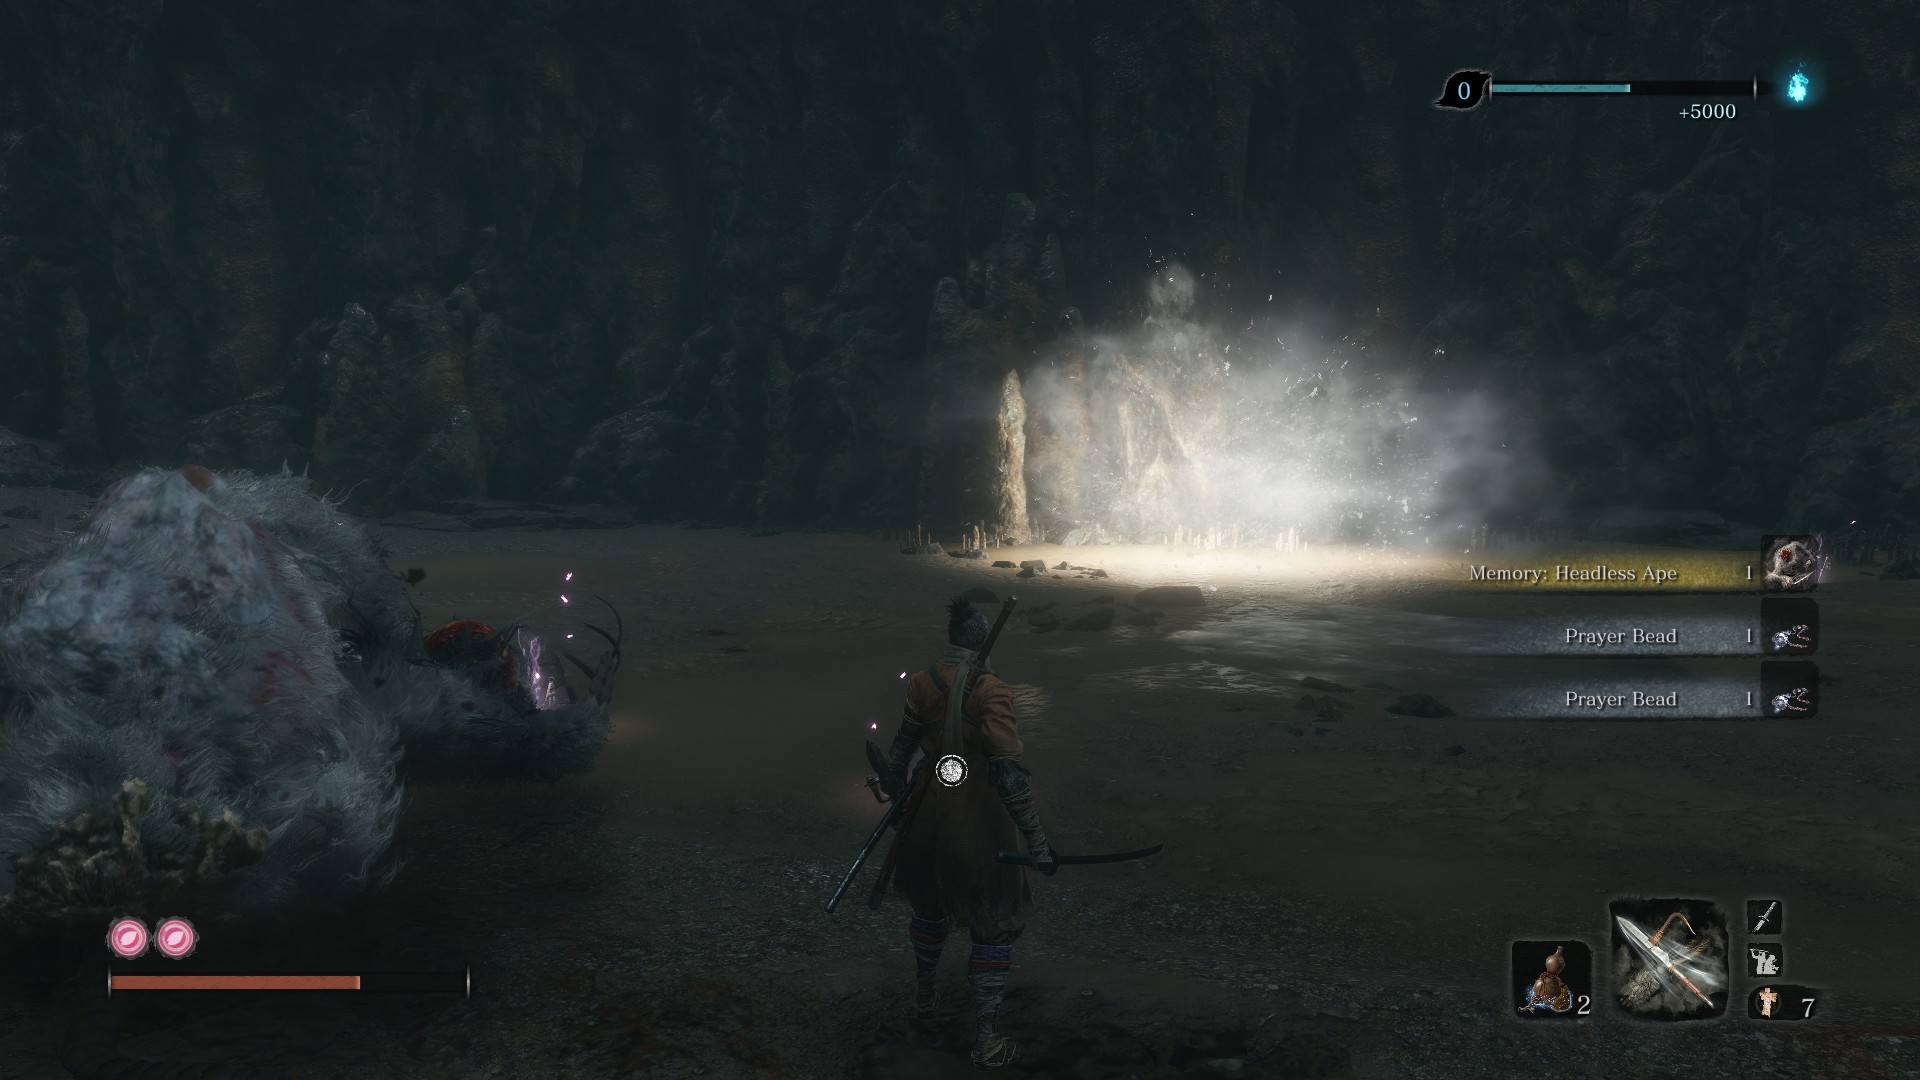
Beat it in 2nd try.
NG+1 Charmless
This one is exponentially harder than the 1st playthrough. The 1st phase is of course very easy, but in the second phase, the brown ape is much more aggressive than before. In my 1st playthrough I can just purely focus on the headless ape, but it’s not possible this time, like when you’re jumping during the diving attack or using spear to stab headless’s head, the brown ape will just make a huge jump and one-shot you.
In my final attempt, I used firecracker to stun the brown ape and hit it mulitple times when the headless ape is screaming, and finally killed it, leaving me only headless ape to kill, which is super easy, barely an inconvenience.
I did not enjoy the fight at all. In the second phase you’re basically just running around seeking for chances, very tiring. If I’ ever do a third playthrough, I’ll definitely go to Ashina depth before killing Guardian Ape so that I won’t have to fight the duo apes.
Mist Noble
Original Playthrough
lol
Since it’s Mist Noble who creates the illusions, it’s only fair to take all those into account. In that case, Mist Noble (the Mist Noble area) is actually pretty draining since I have no idea where to go and have to sneak or sometimes run around looking for path while fighting or dodging the apparitions.
NG+1 Charmless
Having already know the path to its house, I just sprinted past everything and head straight to it.
O’Rin of the Water
Original Playthrough
I took me a few tries to finally beat her, tho I’ve never actually died because I just ran my ass back too my idol when I was about to die.
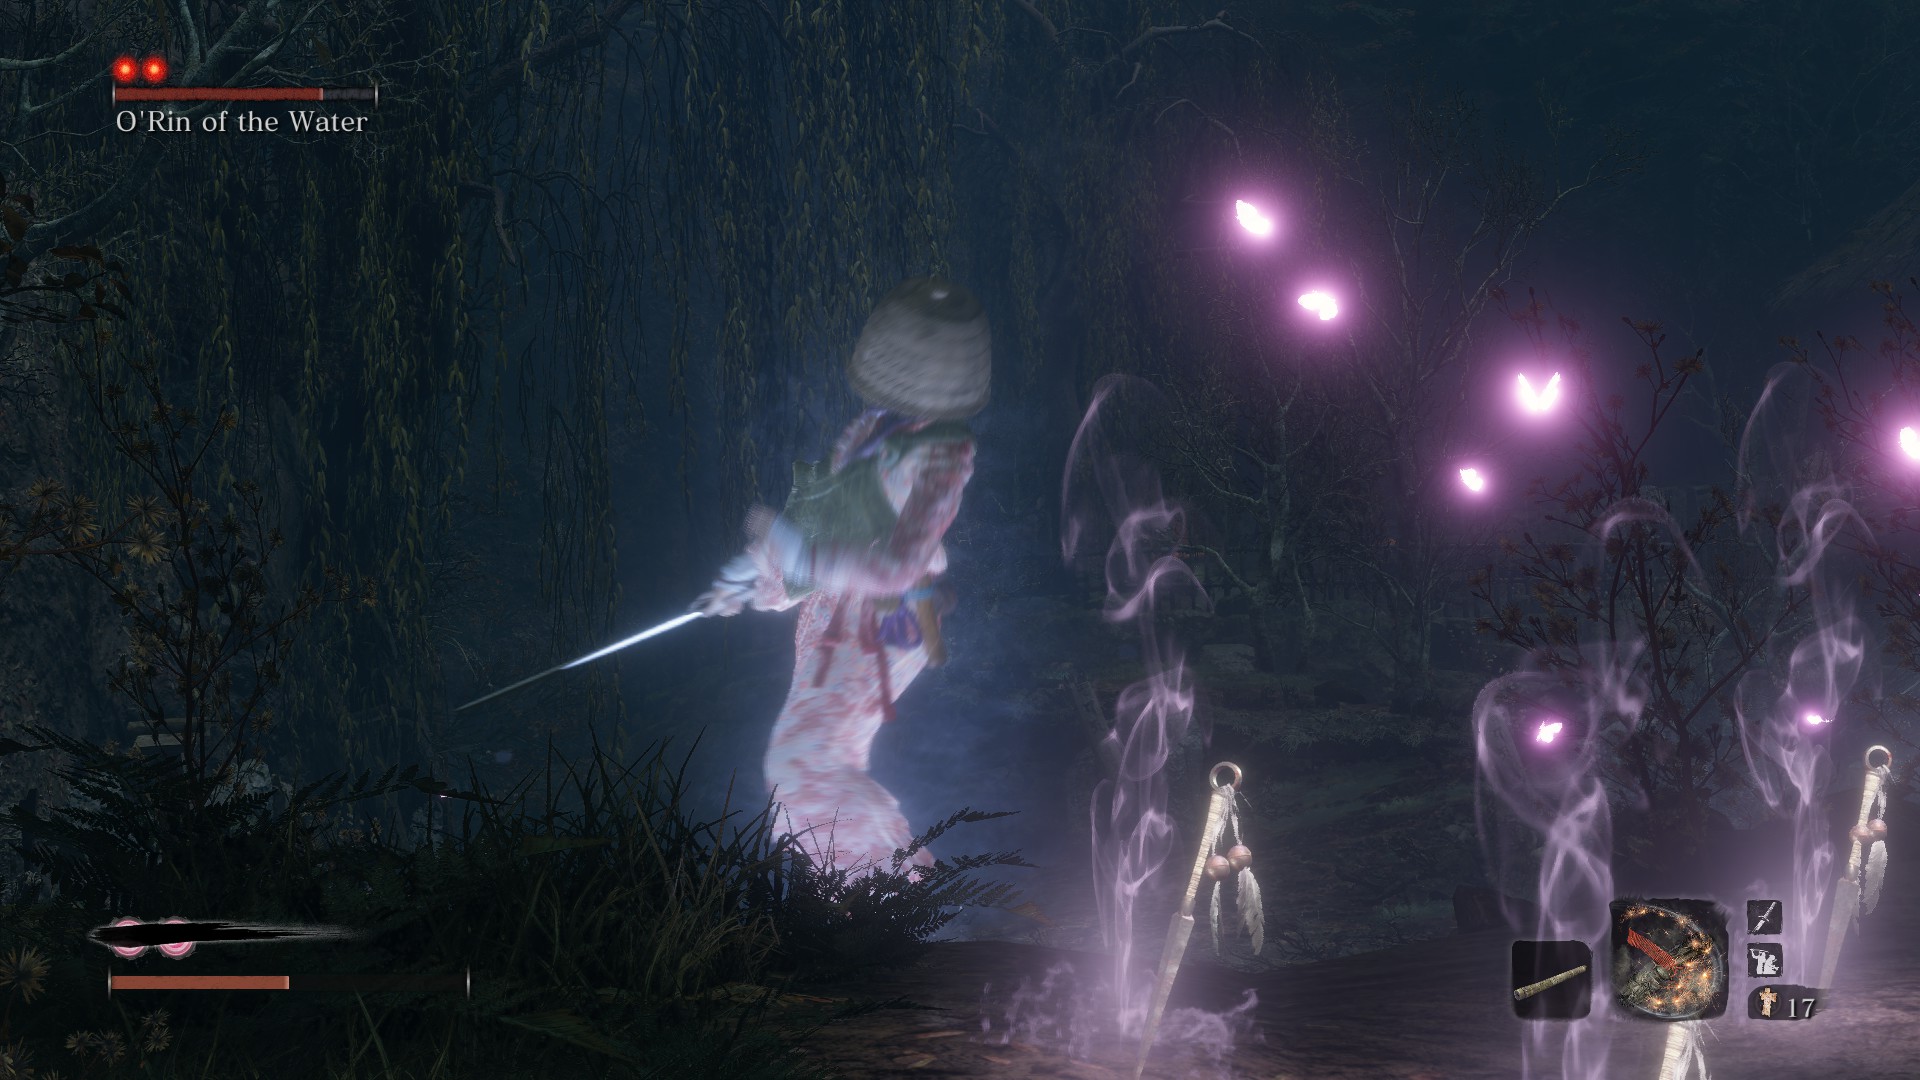
She’s never too intimidating. The hard part is that she takes zero to none vitality damage and her posture recovers fairly fast also. But once you figure out her attacking pattern, you’ll discover that just by deflecting/blocking her attacks and the double jump attack when she sweeps, you’ll deal a lot of posture damage. Repeat a few times and the deathblow will be presented to you.
NG+1 Charmless
Beating her with normal means is just impossible. Apparition enemies ought to be defeated by apparitional means. Her attacks and movesets are limited, but it’s still extremely hard deflect all of them. Since her defence is perfect, and you’re most probably not, you’ll have to take the medicine once in a while and essentially reseting her posture bar as her full health means that she can quick charge her posture bar.
How to deal health damage to her then? By mortal draw. After using it for like 3 times, half of her health will be depleted to a point where her posture recovering speed is reduced to a manageable level. After that it’s just deflect deflect and deflect. Note that you’ll have to use mortal draw strategically since your spirit emblems are limited and there are 2 phases. Plus, sometimes when you do mortal draw, she just ghosts away, wasting you 3 spirit emblems.
yeah so am I
NG+2 Charmless + Bell
2nd try. Mortal draw made it too easy, kind of regret using it because with that I was not able to enjoy the sword clashing at all.
NG+3 Charmless + Bell without HUD
Tried Sakura Dance for the first 3 tries, didn’t quite work. Switched to High Monk and beat her. Not terribly hard.
Didn’t use Mortal Draw this time because I do not like it at all, however powerful it is.
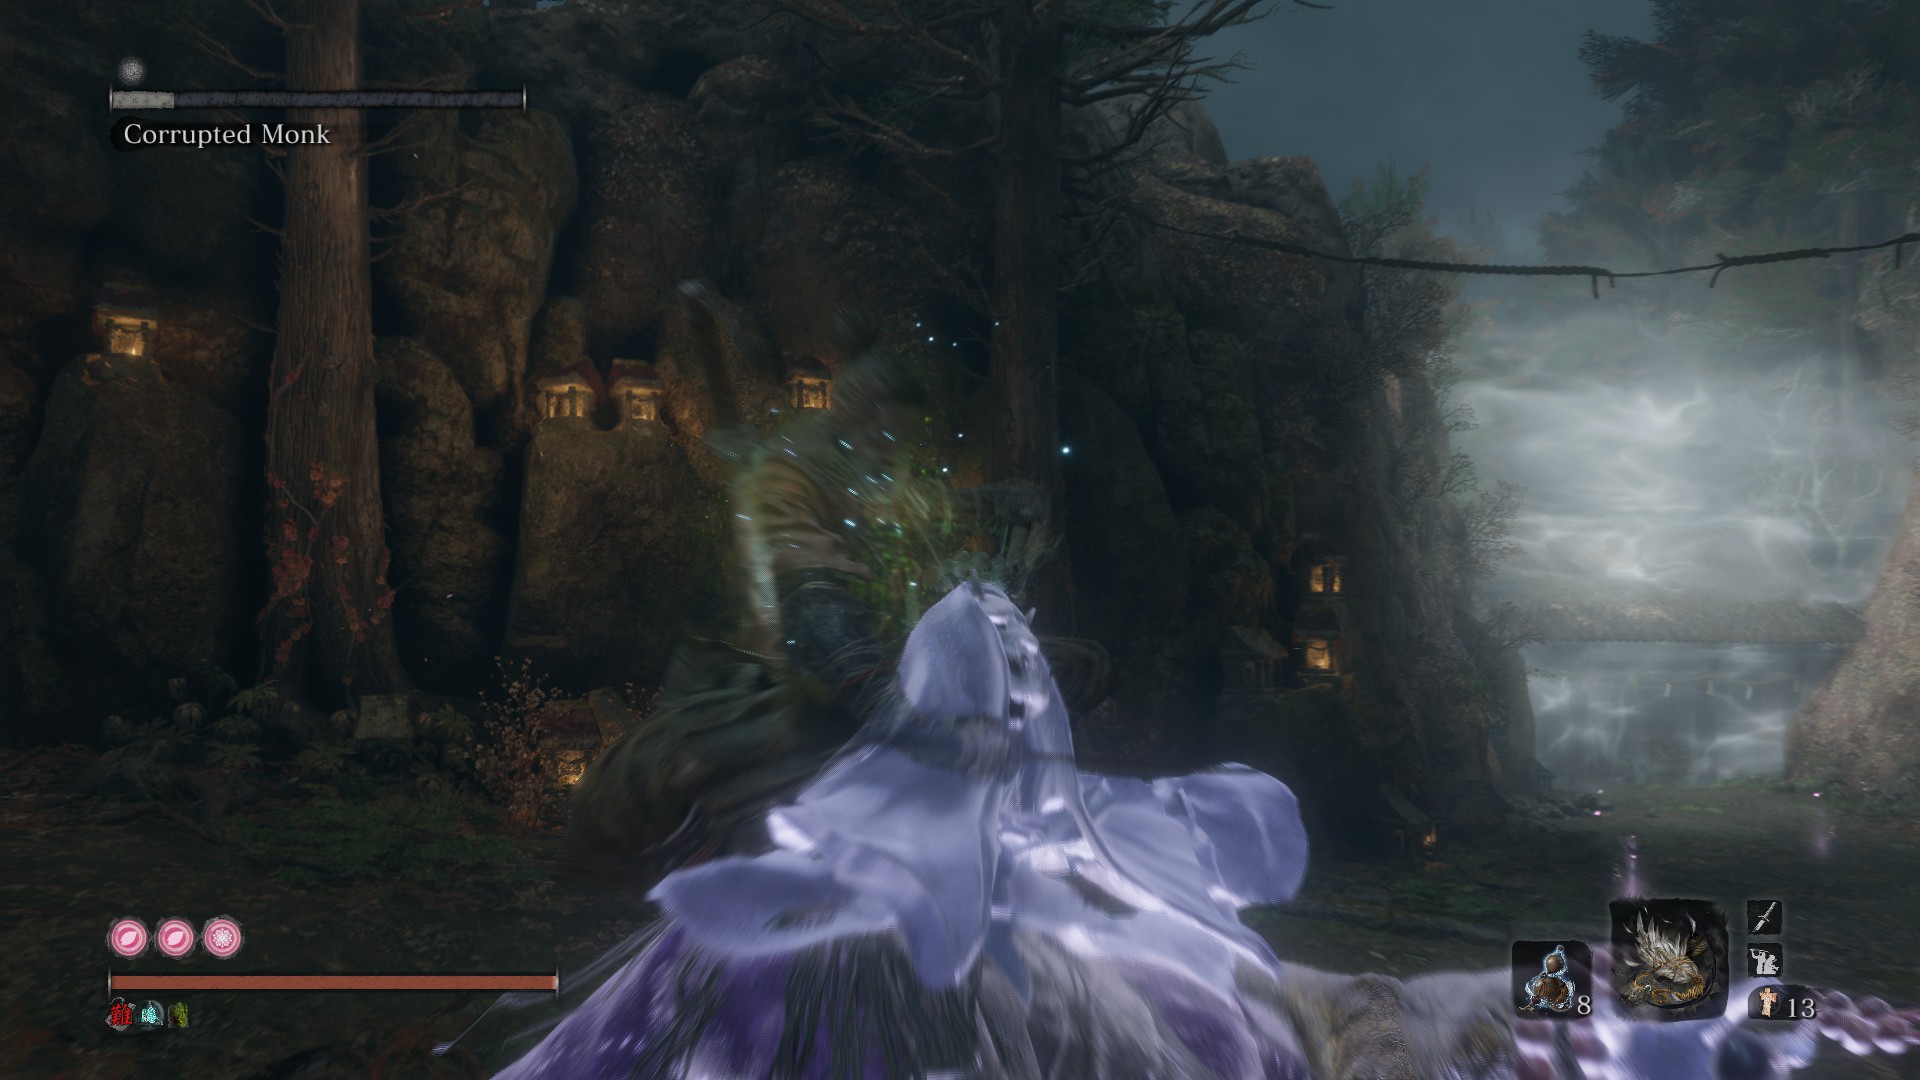
Corrupted Monk (Boss)
Original Playthrough
Deflecting is not always the best solution to this one. To beat him, you first need to get his health bar to about half with side stepping some of his attacks and the do a few hits. After his vitality goes down, just keeps deflecting and attacking opportunistically until his posture bar is filled.

His attacks do a lot of posture damage if not perfectly parried, and it’s hard to always get the timing right, so apart form dodging some of the attacks, you can eat Gokan’s Sugar to reduce your own posture damage if you think you have a decent chance to defeat him.
NG+1 Charmless
After like 3 tries, I finally managed to chees her! Sneak around the arena to her back (Gachii’s sugar or not), eat contact medicine, use mist raven fly on top of her head, and then a deathblow should be presented to you. I got the angle wrong for the first few times tho.
I didn’t cheese her because she’s too hard or whatever. I like this boss quite a lot to be honest, but I just want to try it, since mist raven looks pretty dope.
NG+2 Charmless + Bell
Took me about 10 tries, even with mortal draw. Me cheesing her in the previous playthrough certainly didn’t help.
I was constantly fucked by the camera when I was pushed to the edge and the sudden spear spin backoff after mikiri or jump counter. In the last attempt, I played it pretty safe, only did mortal draw after side stepping her jumping attacks, only attacked 1 time after mikiri or jump counter, and carefully managed my position.
NG+3 Charmless + Bell without HUD
ABout 5 tries. Using Sakura Dance to counter her sweeps is really awesome. You can do so many hits.
Great Shinobi - Owl (Boss)
Original Playthrough
The key is to not always deflect. Try to deflect most of the attacks, but side step if it’s the last attack of a sequence, because you can do 2 or 3 hits immediately after dodging. If you parried, you’ll be stunned a little, missing out maybe one second of openings, while side stepping not only allows you attack immediately but also puts you into a better attacking position.
2nd phase is a bit trickier with the poison throw, which limits your movement as the poison stays forever.
NG+1 Charmless
This one took me the most attempts in my NG+1 charmless playthrough up until this point. I’m sure Isshin would take me more tho.
The key is to stay aggressive, but not hyper-aggressive. I watched some Youtube videos taking a hyper-aggressive approach, but when I tried it, I would always be one-shot when I was attacking. I was just not good enough in observing when he would attack.
So I took a moderately-aggressive approach instead. I would stay as close to him as possible but not necessarily attack. When he jumped away, I would just walked to him. When he threw the anti-heal bomb, I would walked right to his side. When he was at a moderate distance doing nothing, I would throw a shuriken and then do a chasing slice.
This worked very well in phase 1. But in phase 2, my approach wouldn’t work whenever he threw poison. So beating phase 2 involved quite some luck actually. Sometimes he would throw poisons for a few times consecutively. When that happened, there was nothing I can do. I would hold my ground deflecting as many attacks as possible, but ultimately missing a click and then dying without being remotely close to beating him.
I still ranked Headless Ape at a higher difficulty even though it might take me fewer times to beat (or not? I’m not quite sure actually) because it was still more unpredictable.
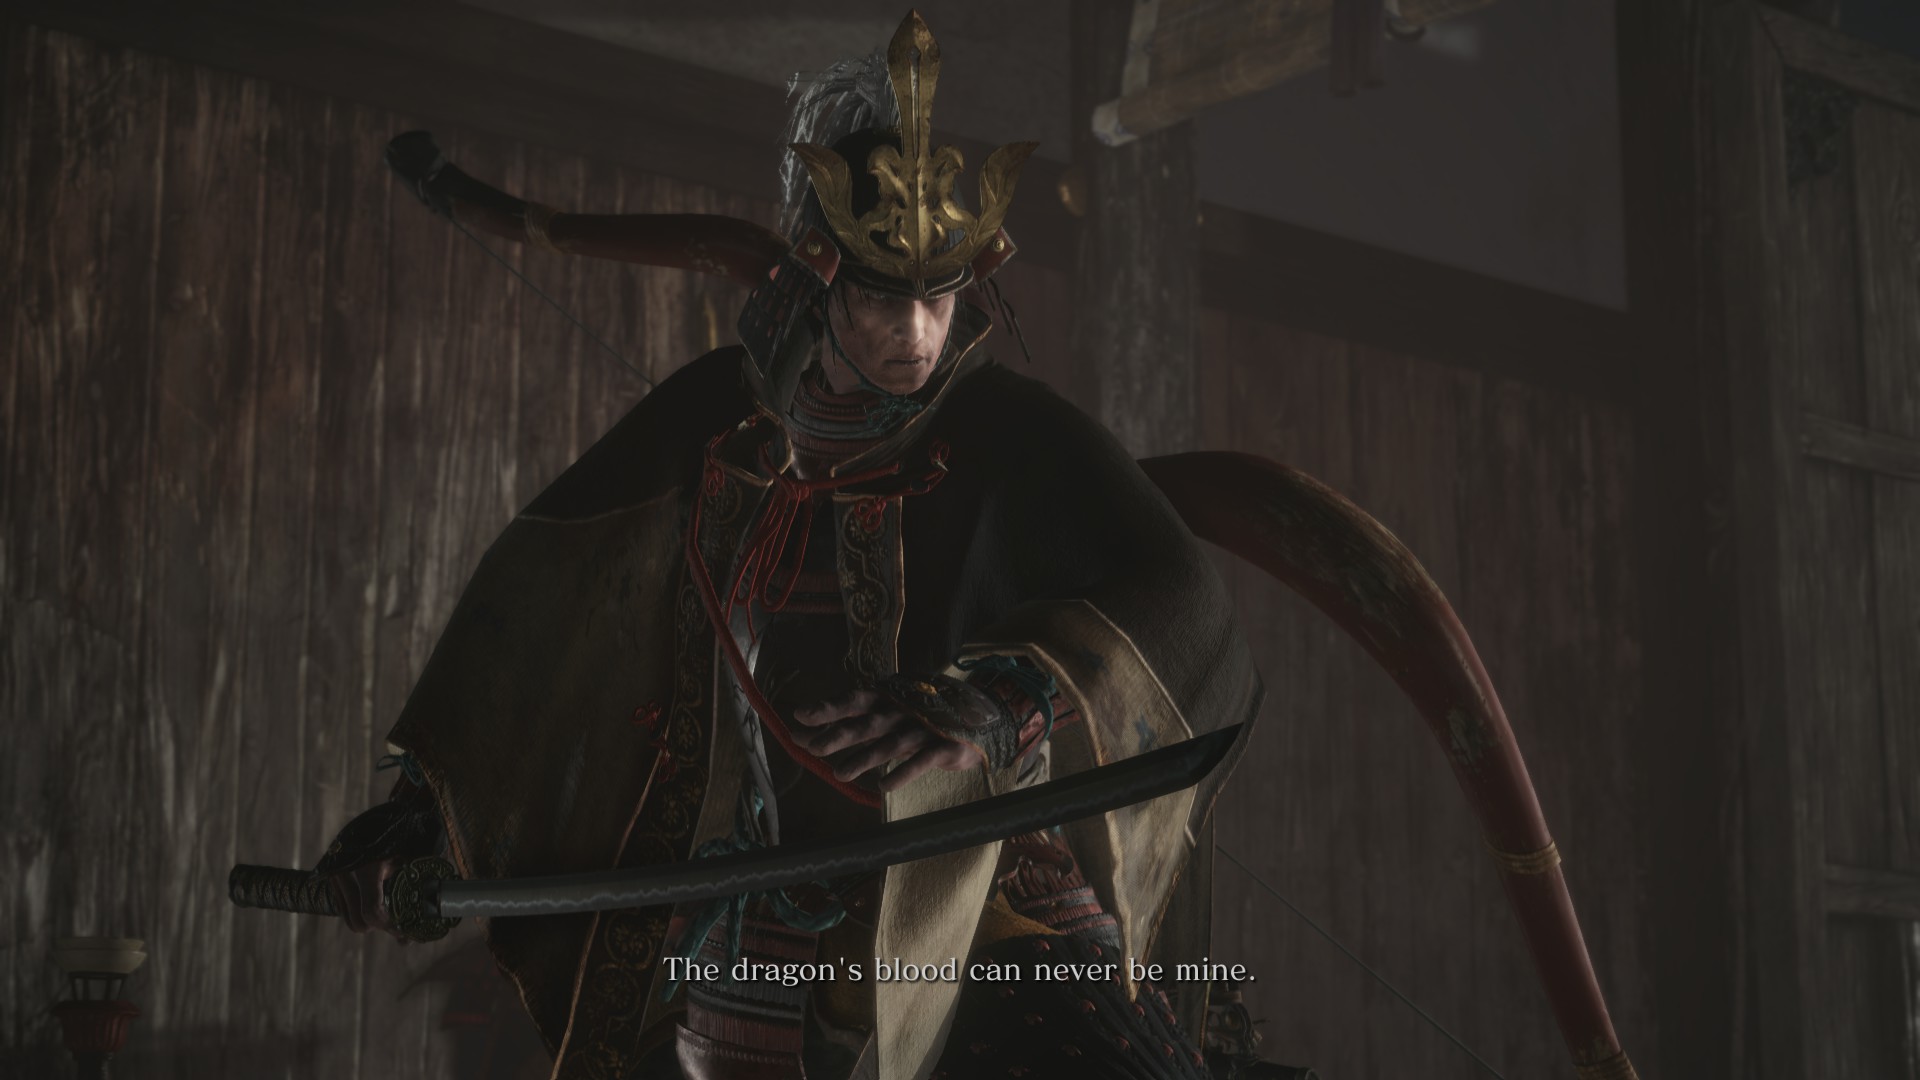
True Monk (Boss)
Original Playthrough
This version of corrupted monk has 3 health bar, unlike the previous one with only 1 health bar. However, the posture bar in this version can be filled much more quickly than the previous one, especially with Ichimonji. Basically just deflect all the attacks and do Ichimonji in big openings e.g. after doing mikiri counter & jump counter. You can finish the first 2 deathblow this way fairly easily. Read it on the Internet that you can actually do an air deathblow from the highest branch at the start of the 2nd phase, but I was not able to replicate that.
For the 3rd phase, use firecracker -> 2 hits -> repeat. The problem is it will only get you to about a little more than half of the posture bar if you only have 17 spirit emblems and forget to eat Ako’s sugar like me. So you’re left with another half of the fight with zero spirit emblem to use Phoenix’s Lilac Umbrella to block her terror attack. But it’s still very manageable. You can also use fistful of ash it seems, but I never remember to do that.
NG+1 Charmless
The first phase was still easy, and I finally succeeded in assassinating her 2nd phase. The third phase, however, was extremely hard.
In the third phase, the posture build-up was very slow, much slower than the previous two phases. And she also got a few new tricks, for example, terror vomitting. I tried fighting head on a few times but was never remotely close to beating her. So then I checked my notes in the original playthrough because I didn’t recall it to be this hard, and apparently I use firecrackers to kind of cheese her.
When she was transitioning to phase 3, I used Ceremonial Tanto and Ako’s sugar before refilling my health. I then tried to use firecrackers opportunistically, but was still ubable to win. In my final attempt, I decided to spam firecrackers, kept repeating firecracker -> 4 hits -> firecracker -> 4 hits -> … until my spirit emblems were depleted. At that point, with the help of Ako’s sugar, her posture bar was already 90% filled, so not much was left to be done.
So technically, I only actually fought her phase 1.
Chained Ogre (Castle)
Tried to fight head on, but the arena is just too small. So I follow a cheese guide on Reddit.
Air assassinate from the top, and then run to door, which he can’t squeeze through. Spam nightjar -> nightjar reversal until he’s dead.
Shichimen Warrior
Original Playthrough
Cheese with Phoenix’s Lilac Umbrella.
NG+1 Charmless
Poison Pool
… I had no idea you can just skip it until I saw a reddit comment. I’d spend tons of divine confetti and spirit emblems on it, but just could not get it to work.
Since blocking still damages you, you can’t hold umbrella up forever like you did in the first playthrough, but deflecting with your umbrella takes a lot of spirit emblems, so you can’t take a full umbrella approach to kill him. Anti-air deathblow works, but only for the 1st phase. I never got the chance to use it in the 2nd phase. It requires divine confetti also. I’ve also tried using malcontent, but it takes a ton of spirit emblems.
It’s just impossible to beat in charmless.
Lone Shadow Masanaga the Spear-Bearer
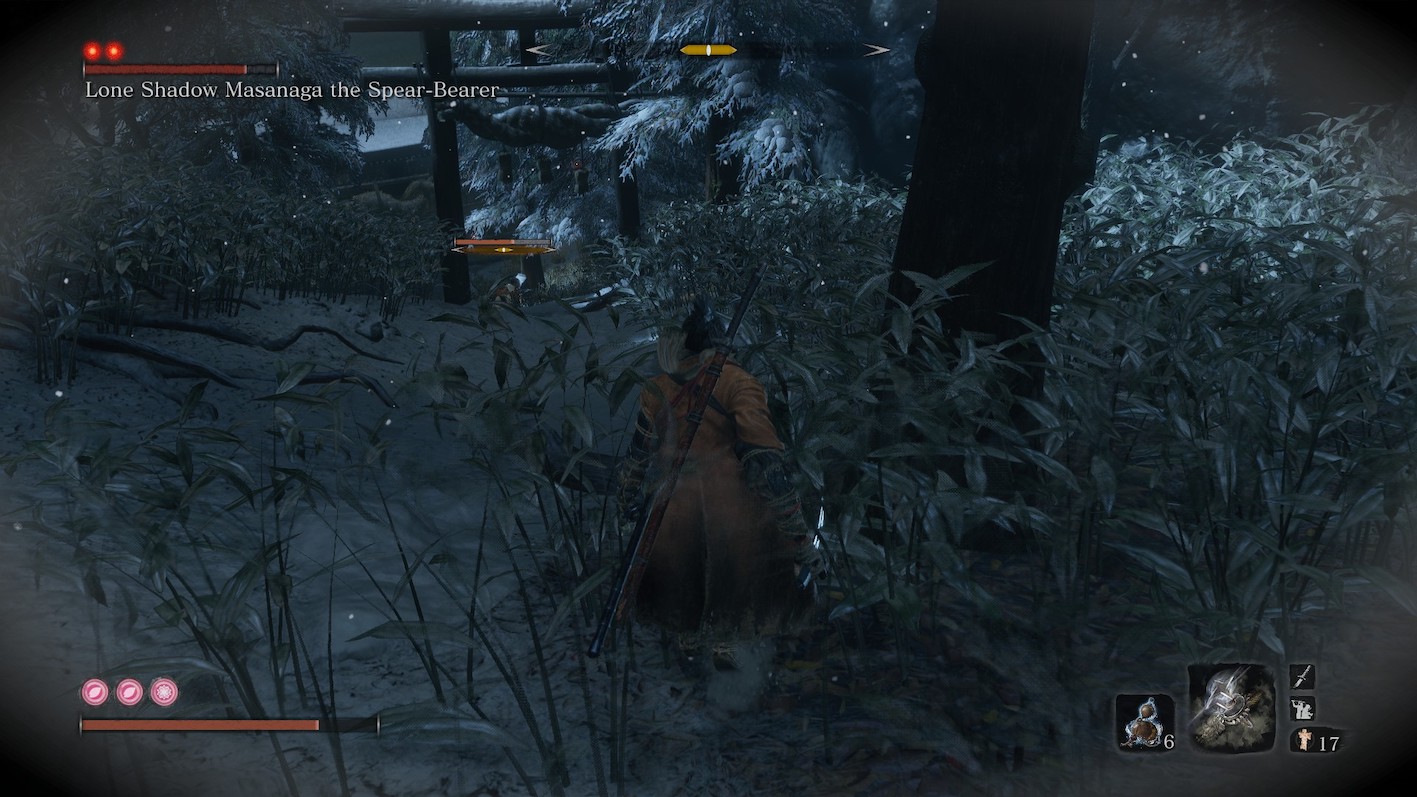
Sneak to the back to get 1st deathblow, and then run away to the forest. At one point he will stop chasing you, and keep slowly walking back. Walk to his side, run if he attacks, attack if he does nothing. Repeat.
Tried to fight head on one time but the shibimaru is too annoying, so I just went for a cheese.
Lone Shadow Vilehand
Original Playthrough
Stealth kill his friend first, and then … just fight, no other way. Mikiri counter his thrust kick, dodge his shibinaru attacks, use antidote powder to heal if you’re unfortunately poisoned, Ichimonji in big openings.
Died a few times when fighting both at the same time, but beated him first try after stealth killing his friend.
NG+2 Charmless + Bell
This is so fucking hard. Took me like 7 tries. High monk does deal a decent amount of posture damage tho.
Juzou the Drunkard 2.0
Use the finger whistle to lure his friend and stealth kill him when he is going back. You can use puppet nijutsu or not, doesn’t matter that much. Kill the other guards, and then run back to the 1st area, de-aggro Juzou, and then stealth kill his first health bar. For the 2nd health bar, just jump around and then Ichimonji at big openings. He’s really slow so it’s not too much of a problem once you get his pattern and attacking range.
It’s still a bit harder than Juzou the Drunkard 1.0 because you’ll have to fight a full health bar alone this time. Good thing is that when you’re about to die, you can just run away and teleport back to your idol.
Okami Leader Shizu
Sprint over, jump, and then anti-air deathblow …
Underwater Headless (Ungo)
Not so difficult actually, I beat it in my first real try, although I’ve watched countless videos about the headless fights before.
Divine confetti + pacifying agent + Ako’g sugar
Underwater Headless (Yashariku)
Took me quite a few tries since I’ve run out of my divine confetti and that there’s 2.
Diving Dragon (Boss)
Original Playthrough
For the trees of dragons, just spam attack without caring about if you’ll be poisoned. Your health recovers far faster than than poison’s harm since you can get as many deathblow as you want.
For the dragon, just sprint toward the trees, grapple one that has lightning on it, and then do lighting reversal. Repeat it for a few times and you’ll get to the final phase, which is basically still the same but with different attacking patterns.
Its attacks are really easy to deal with, just jump the sweep attack and block all the other attacks.
NG+1 Charmless
I can’t believe hwo many times I died to this giant pile of shit, took me like 10 attempts. I even died to the trees of dragons 2 times.
My problem for the dragon was mostly about the final phase. The sweep attack can be jumped and other attacks can be avoided just by running sideways. But there was a perilous attack in the final phase where it just kind of swirled its sword around, and I had no idea how to deal with it. I still got some damage from that attack in my final attempt. (Apparently I have to jump when it swirled.)
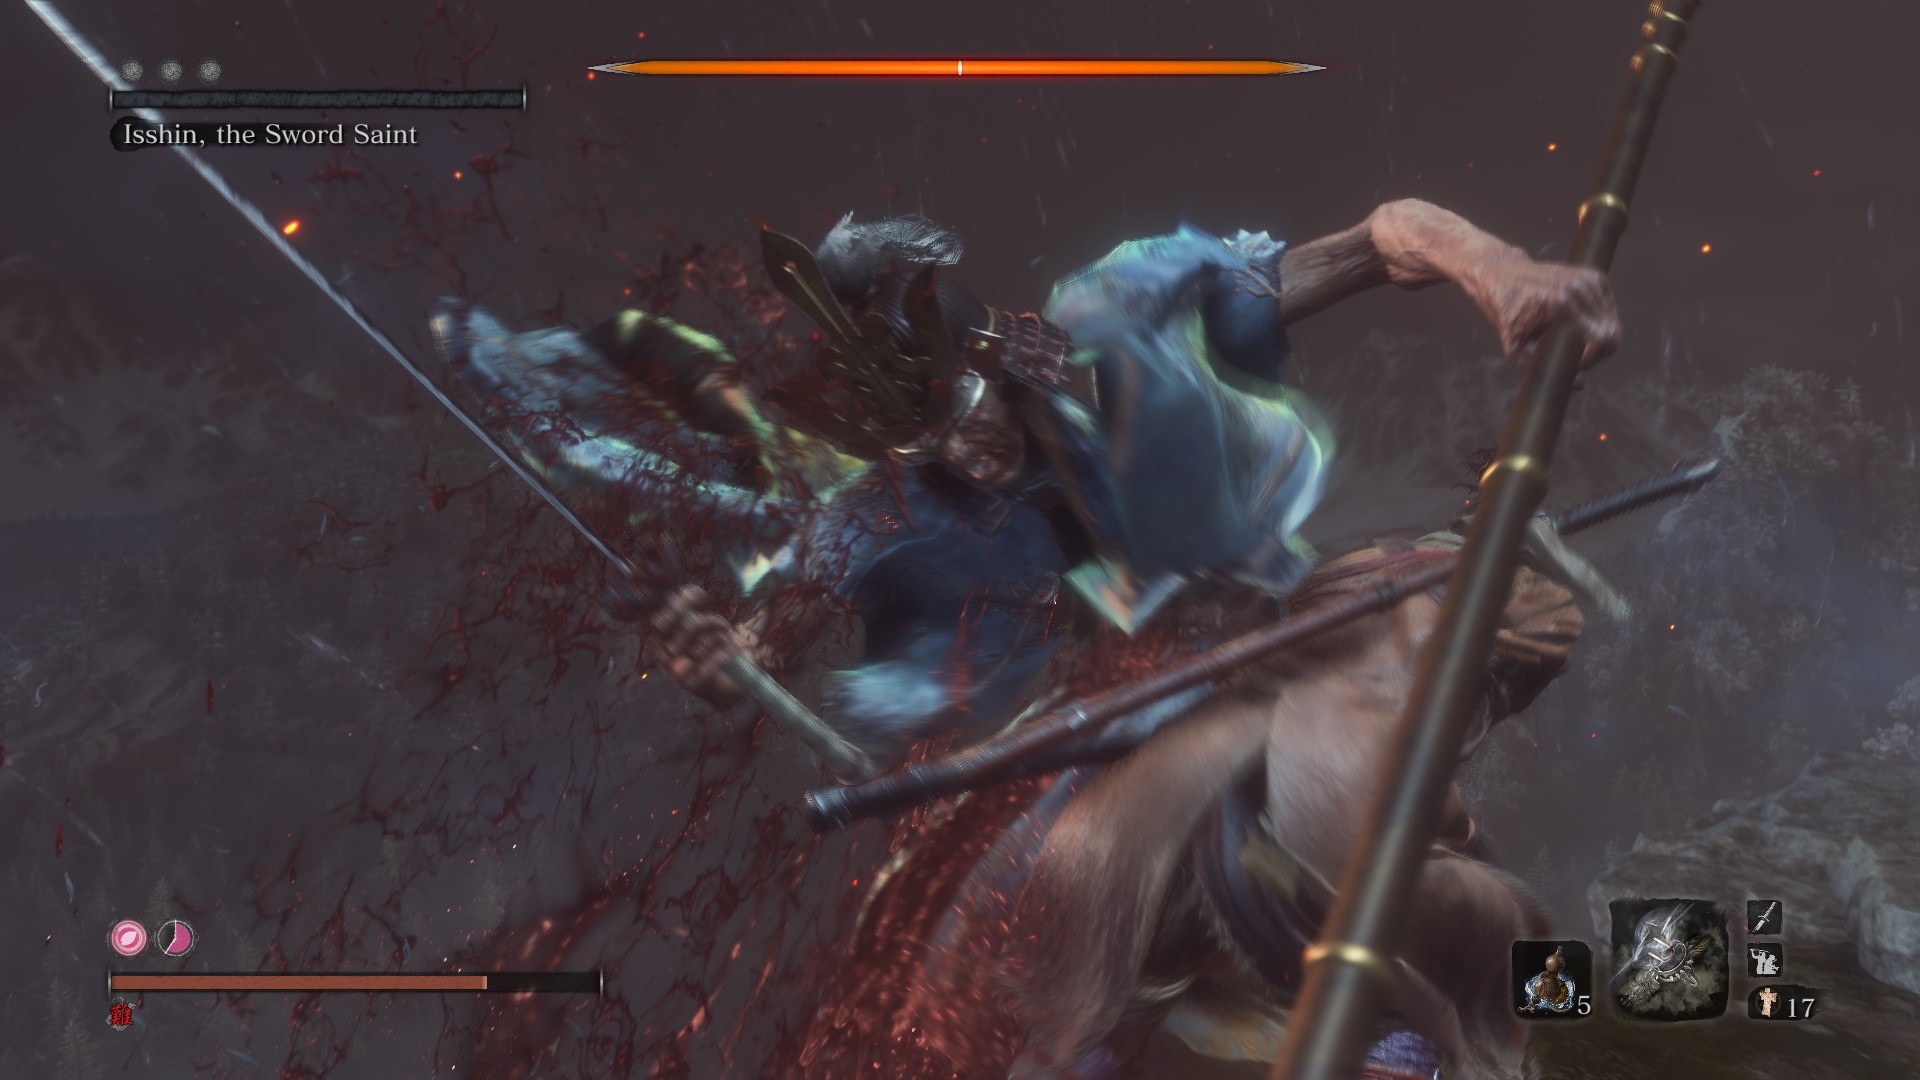
Isshin, the Sword Saint (Boss)
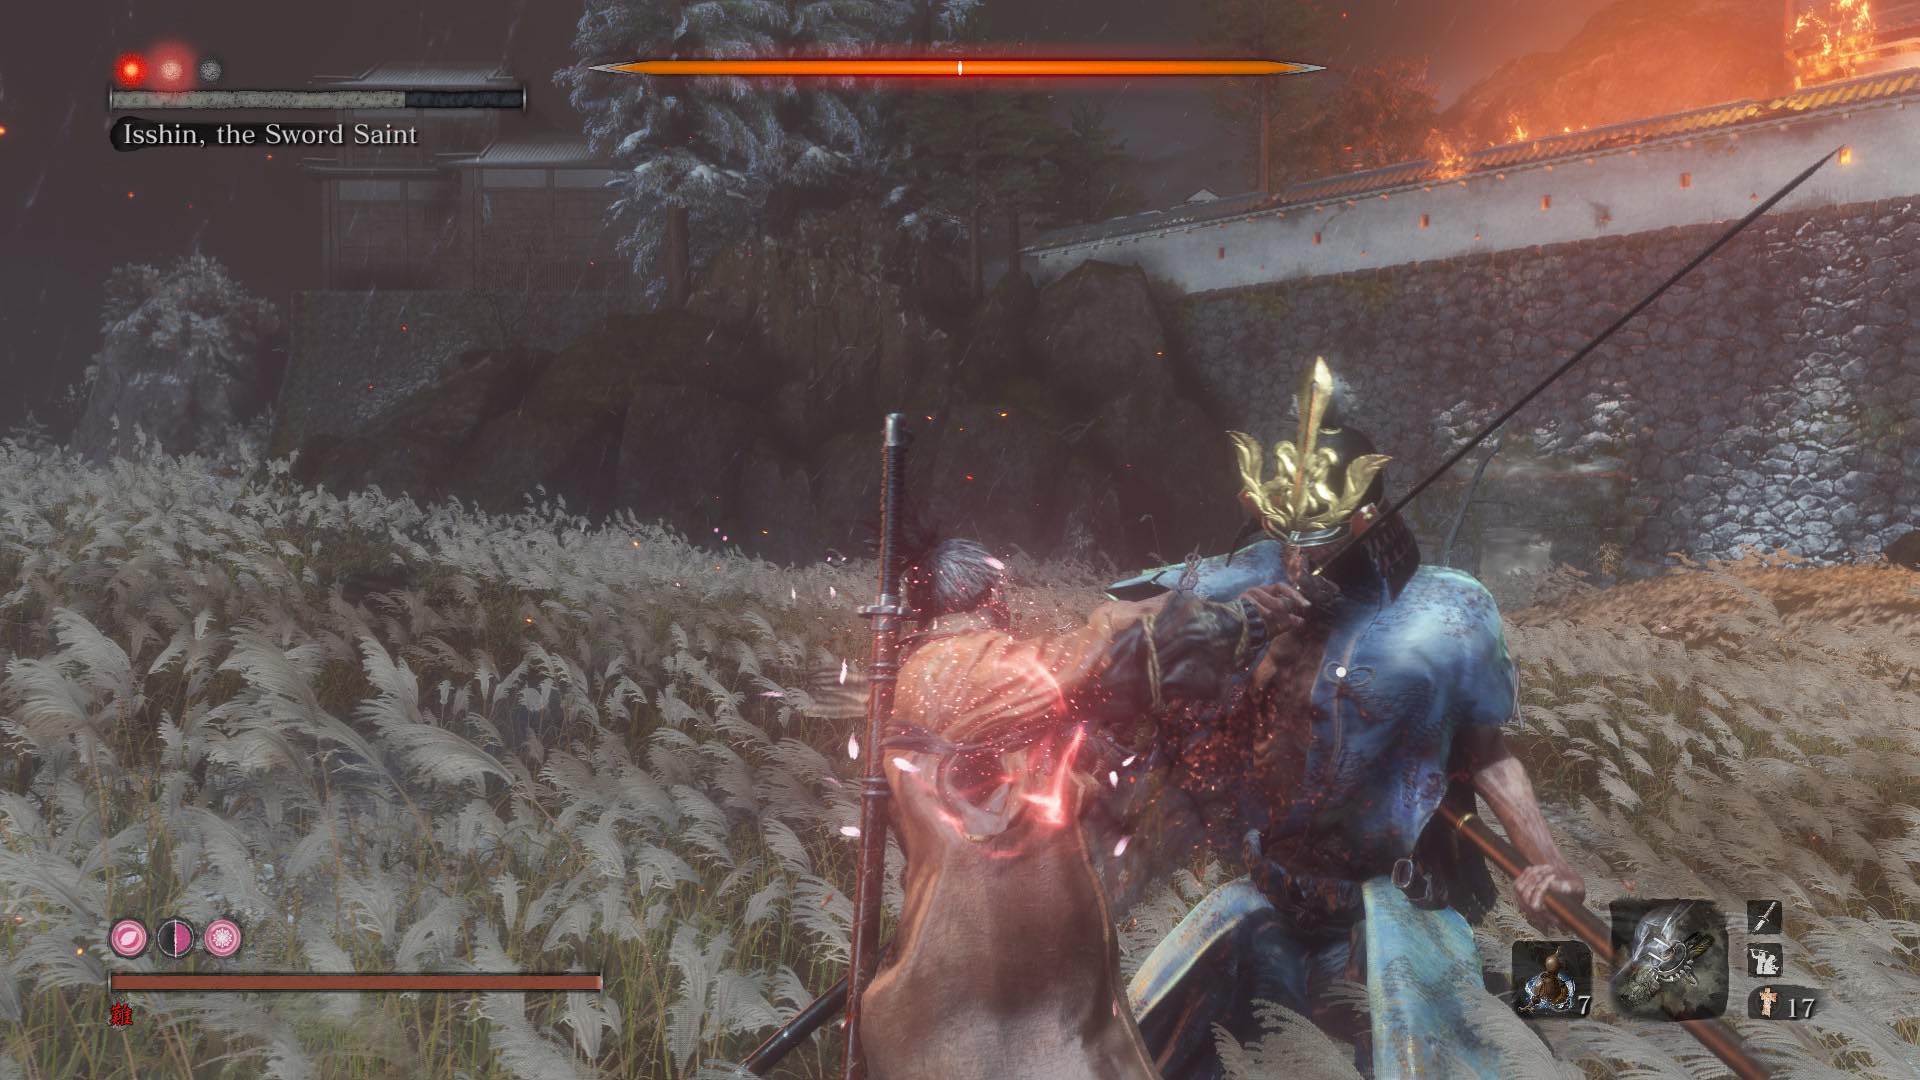
Original Playthrough
This boss has 4 phases in total, Genichiro 1 phase + Isshin 3 phases. However, it is actually not as brutal as it may seem, as Genichiro & Isshin 1st phase are really easy. The real challenge is the final 2 phases.
Genichiro, Way of Tomoe
This is just Genichiro Ashina’s 2nd phase + black mortal blade sweep. Jump counter or use umbrella when he’s doing black mortal blade sweep, and the rest is just like how you beat Genichiro 2nd phase, with a much more quickly filled posture bar.
Isshin 1st phase
This phase is really easy and almost impossible to get hit once you recognize the pattern. For the crazy attacks, just run out of his range and then sprinted back for an Ichimonji double during his cooldown. For the other attacks, just deflect 2 or 3 times and then attack as soon as possible.
It is in this fight I learned that hesitation is defeat, and attack is the best defence. By attacking aggressively, you can disrupt many of his attacking sequences.
Isshin 2nd phase
Patience is the key in this phase. Countary to the previous 2 phases, where you play agressively, you have to play passively in this phase. You basically only attack after jump & mikiro counter or when he is standing there doing nothing. Just deflect his hits and attack when necessarity, and you’ll earn yourself a victory.
Isshin 3rd phase
Just like Genichiro Ashina, this phase is just the 2nd phase plus lighting, which makes the fight easier as long as you always get the timing of lighting reversal right. He also has another crazy attack in this phase, which is best to be dodged by side stepping.
NG+1 Charmless
I probably died for like a 100 times. The spear phase is BRUTAL, but then I saw this reddit comment, tried it, and it really worked! The spear phase is only overwhelming when you’re passive, so you’ll have to take control. This really shows how well-designed Sekiro’s bosses are. When you’re passive, the boss will be aggressive, but when you are aggressive, the boss becomes passive or stands on an equal ground. And when the boss is being ultra-aggressive, he’ll also leave more openings for you to exploit.
To overcome Isshin’s spear phase, you’ll have to utilize i-frames and be very aggressive. Whenever he swings his spear, dodge forward and then immediately do 3-4 hits to disrupt his attacking sequence. The final phase is trivial with lightning reversals. And through this fight I finally understand why the NG+7 charmless bell no hit runs on Youtube always use Mist Raven to do lightning reversals. You still get some damage to you even if you successfully reverse the lightning! In the original playthrough the damage is minimal so you won’t even notice, but in NG+ charmless, the damage is visible.
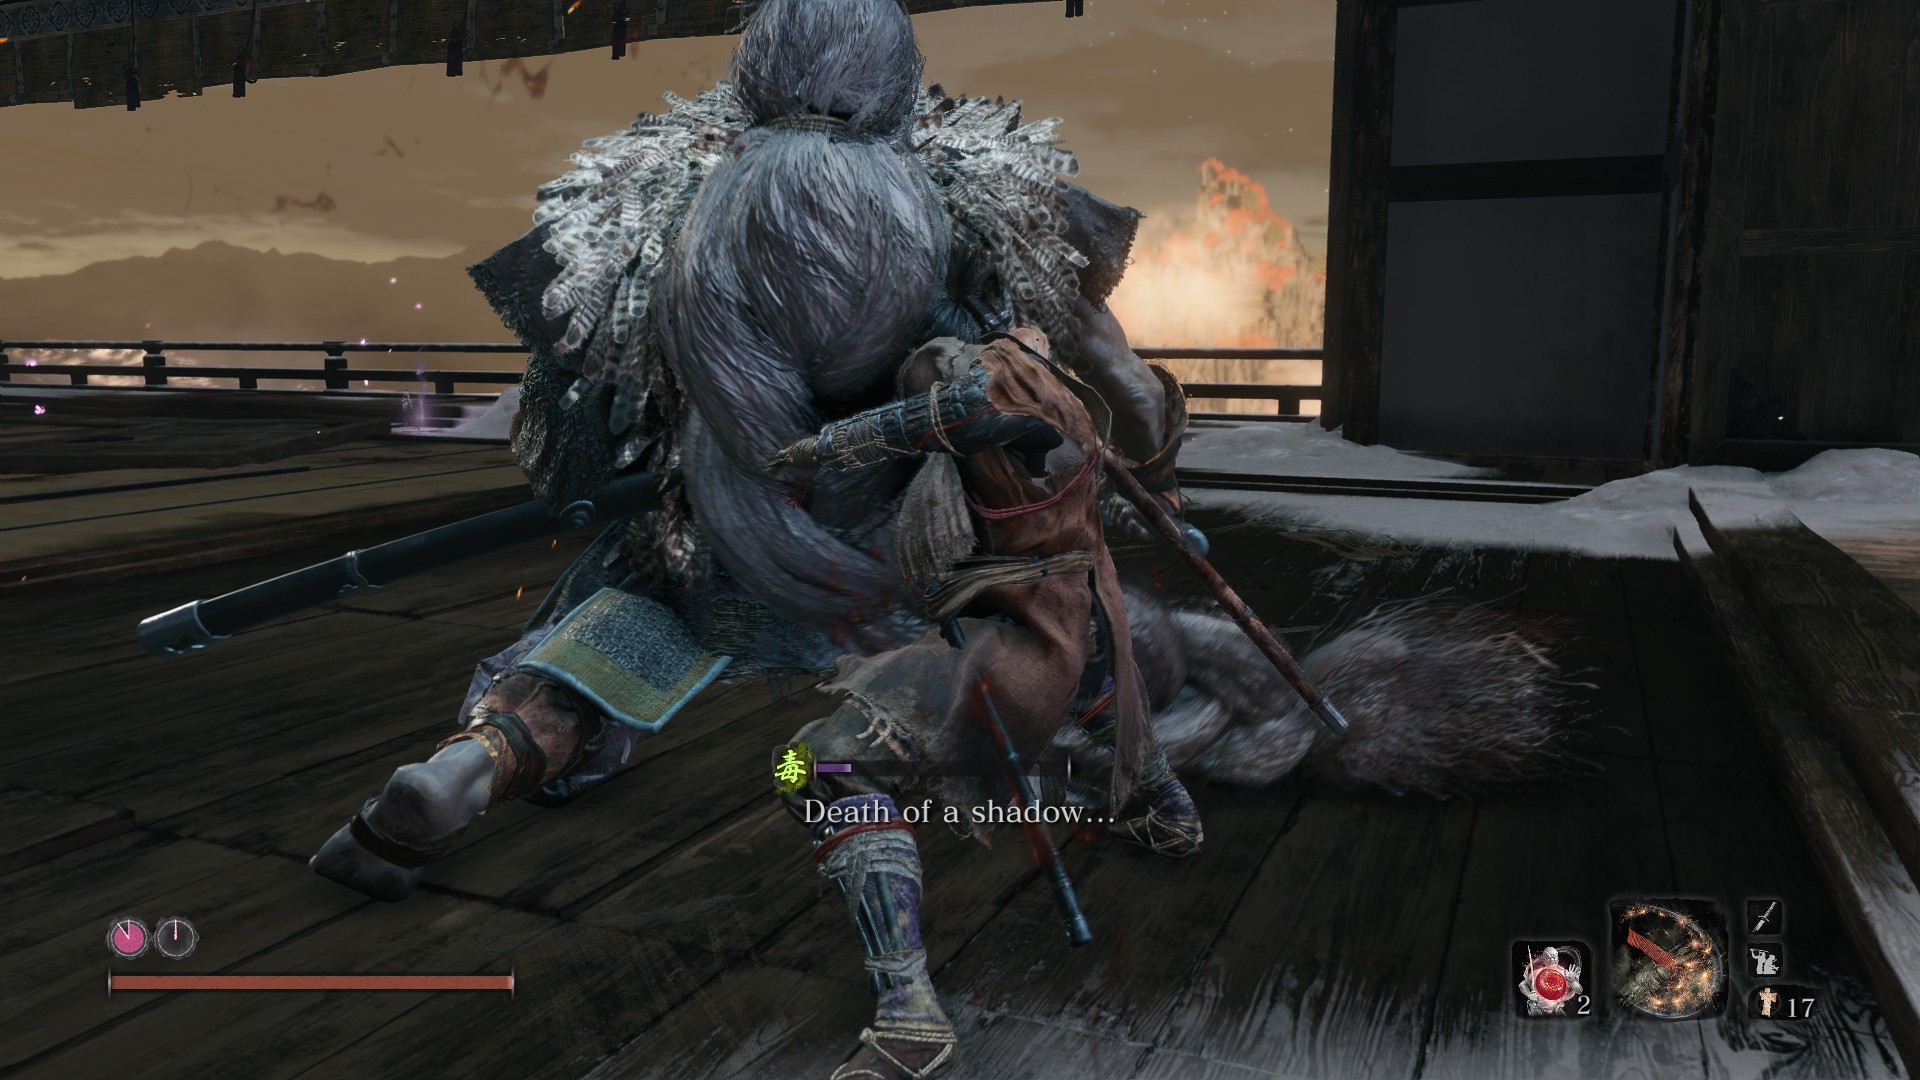
Owl (Father) (Boss)
There’s not many tricks for this one to be honest. Just regular deflect & attack.
For phase 1 , just be as agressive as possible. Hit him 2 or 3 times whenever there is an opening. Jump when he’s doing a quick perilous sweep, and side step when he’s doing Ichimonji. For some reason, I always died in the very early stage of this phase, and then played almost flawlessly for the rest of phase 1, even during my final fight.
Phase 2 is just phase 1 + transporting Owl & fire ball or whatever. When he’s riding on the owl, just be aware of its position and run around like a maniac. For the fire ball, I never know how to dodge or parry it, so I just run as far as possible. You lose the chance to do mikiri counter if you do this, but safety first.
Since it’s a rather small arena with lots of obstables (the pillars), you have to always keep yourself in a good position. Basically never get in between Owl & a wall.
I think Owl’s first phase is harder than Genichiro + Isshin 1s phase, but Isshin’s 2nd phase is definitely harder than Owl’s 2nd. Overall, Isshin is still harder.
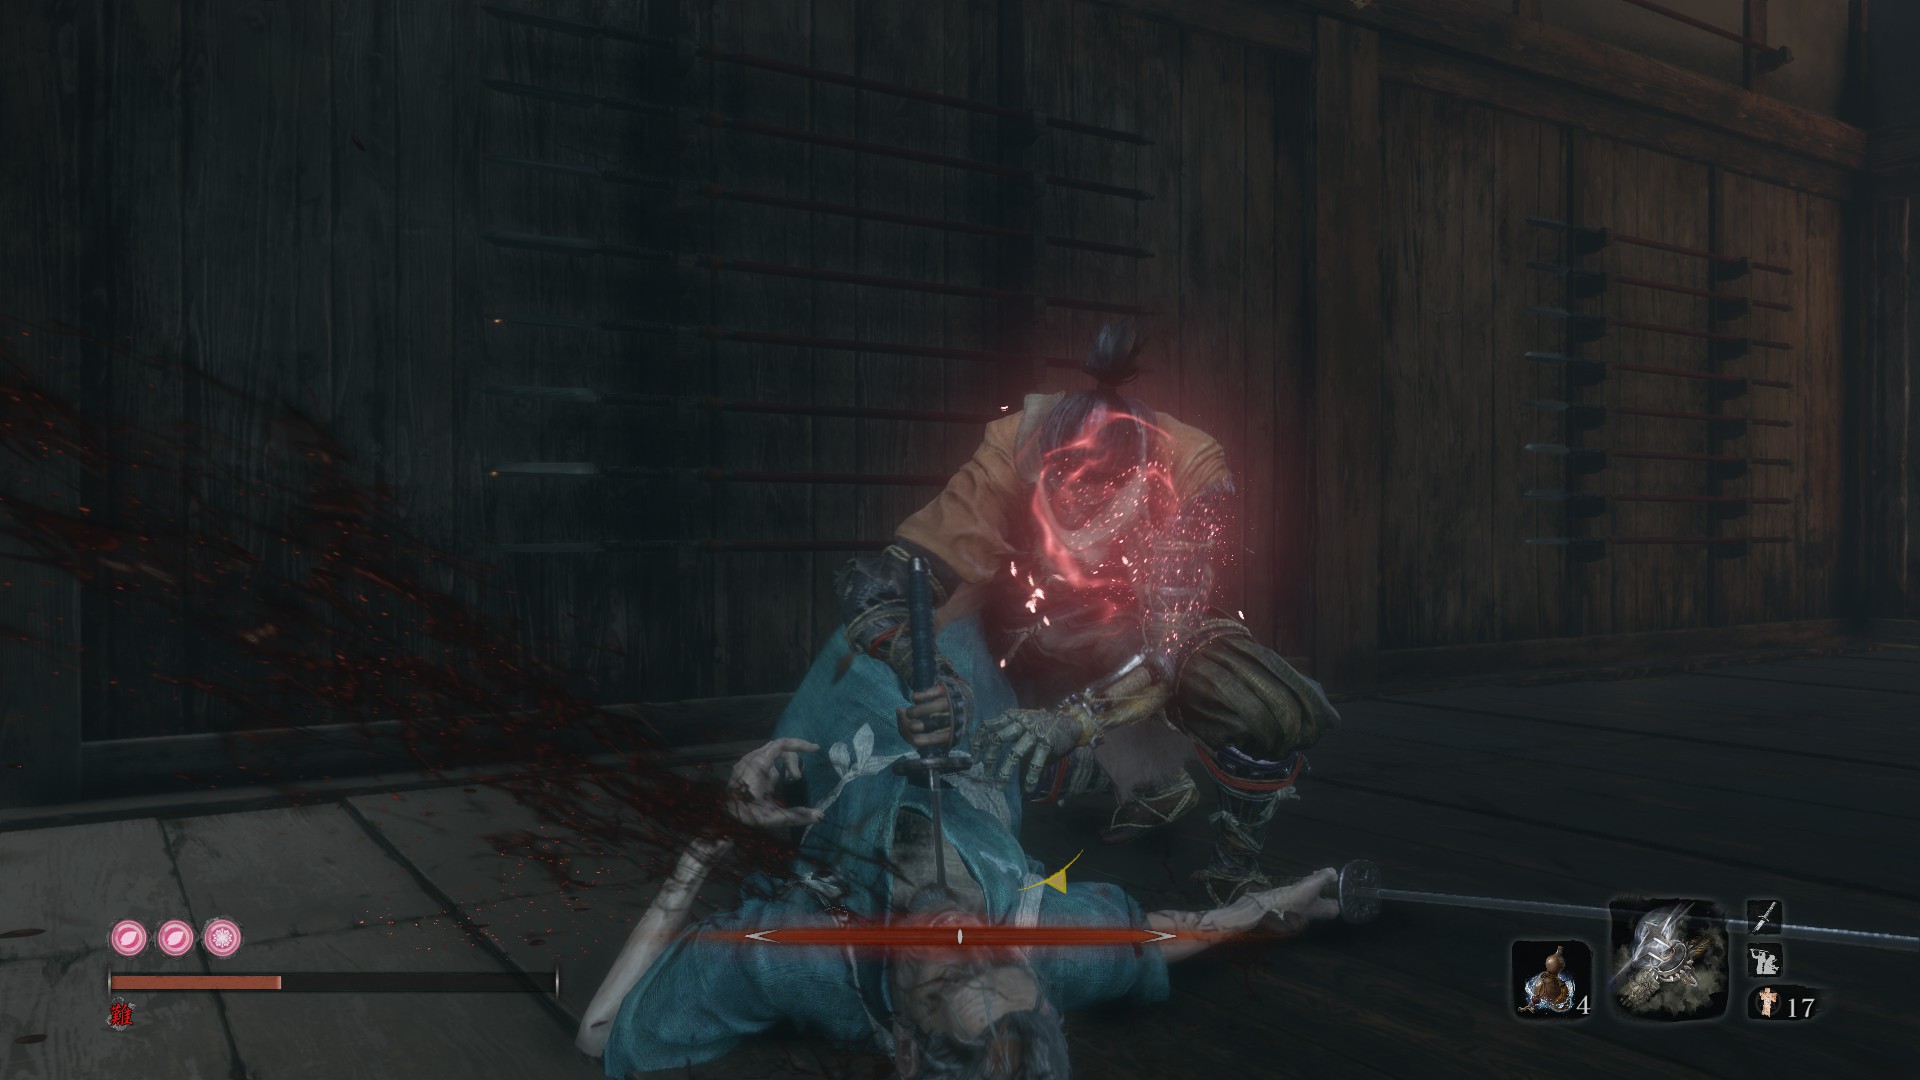
Emma, the Gentle Blade (Boss)
NG+2 Charmless + Bell

Beautiful fight. The 4-hit combo is probably my favorite move of all Sekiro. In the final hit, Emma would use her dual blade to do a deep but. like how 調查兵團 cut the neck of titans. If you failed to deflect it, you’ll be dragged away, and Emma would 收刀入鞘 slowly like a fucking chad. But if you successfully deflect it, then it will be Emma who’s dragged away, leaving huge openings.
Sekiro combat is really so fucking well done.
I think this fight is harder than both Genichiro, Way of Tomoe and Isshin, the Sword Saint phase 1. Their moves are all very predictable and deflectable, so it’s fairly easy to get pass them without any damage, but for Emma, it’s almost impossible. Many of her attacks have weird timings, and sometimes when you corner her, her moves will be hidden in her short stature, making them hard to decipher.
Isshin Ashina (Boss)
NG+2 Charmless + Bell
The first phase is definitely harder than young Isshin’s first phase. The movements are mostly the same, but this old Isshin DODGES!!!! It got me countless of times. The Ichimonji also has more subtle pre-movement, making it harder to detect. As explained in the remnant, he “eliminated all wasted or idle movement”.
As for the second phase, my main problem was the fire trap before one mind. I just could not consistently avoid the fire traps, even though I always moved to the area with no fire. In the end, I just used Ichimonji to stop him from performing that attacking sequence, which makes the fight much easier. Other fire attacks are all fairly easy to dodge.
As such, I rate fire Isshin easier than spear Isshin.
Inner Genichiro
Gauntlet of Strength - Charmless + Bell
The key to the first two phases of this fight is to smother Genichiro with light attacks, and throw firecrackers whenever he’s about to perform floating passage or its variant. This way, he will never have the chance to pull out his sakura dance & chasing slice, and his posture bar can be filled quite easily. It’s very tight tho, much tighter than Genichiro Ashina. A single mistake may not cost you your life directly but will certainly disrupt the battle flow and reset your progress to some extent.
In the 3rd phase, keep doing the same thing but remember to reverse his lightning instead of dodging it. Sure you’ll have to do it twice each time but it’s 1000% worth it. Use high monk to punish his sweeps as well.
Tokujiro the Glutton
NG+3 Charmless + Bell
This was the first time I fought this boss, although he’s just a Juzou duplicate. It took me an embarrassing 10 times to finally beat him, even with intense use of firecrackers and Sakura Dance.
Sure this dude is slow, but all of his moves are one-shots, giving you a minimal margin of error.